Get started in three steps
To get started with Flower we have created this section called "Get started in three steps". Here you can learn the Flower basics such as modeling your first process, adding a form and eventually automating your process. We have also linked the more detailed sections of our User Manual. If you are interested in one of these sections, just click the link to become a Flower Expert. To get started with your first Flower process just follow the step-by-step instructions or have a look at our How-to-video:

Step 1 - Process Modeler
1.1 Create a model
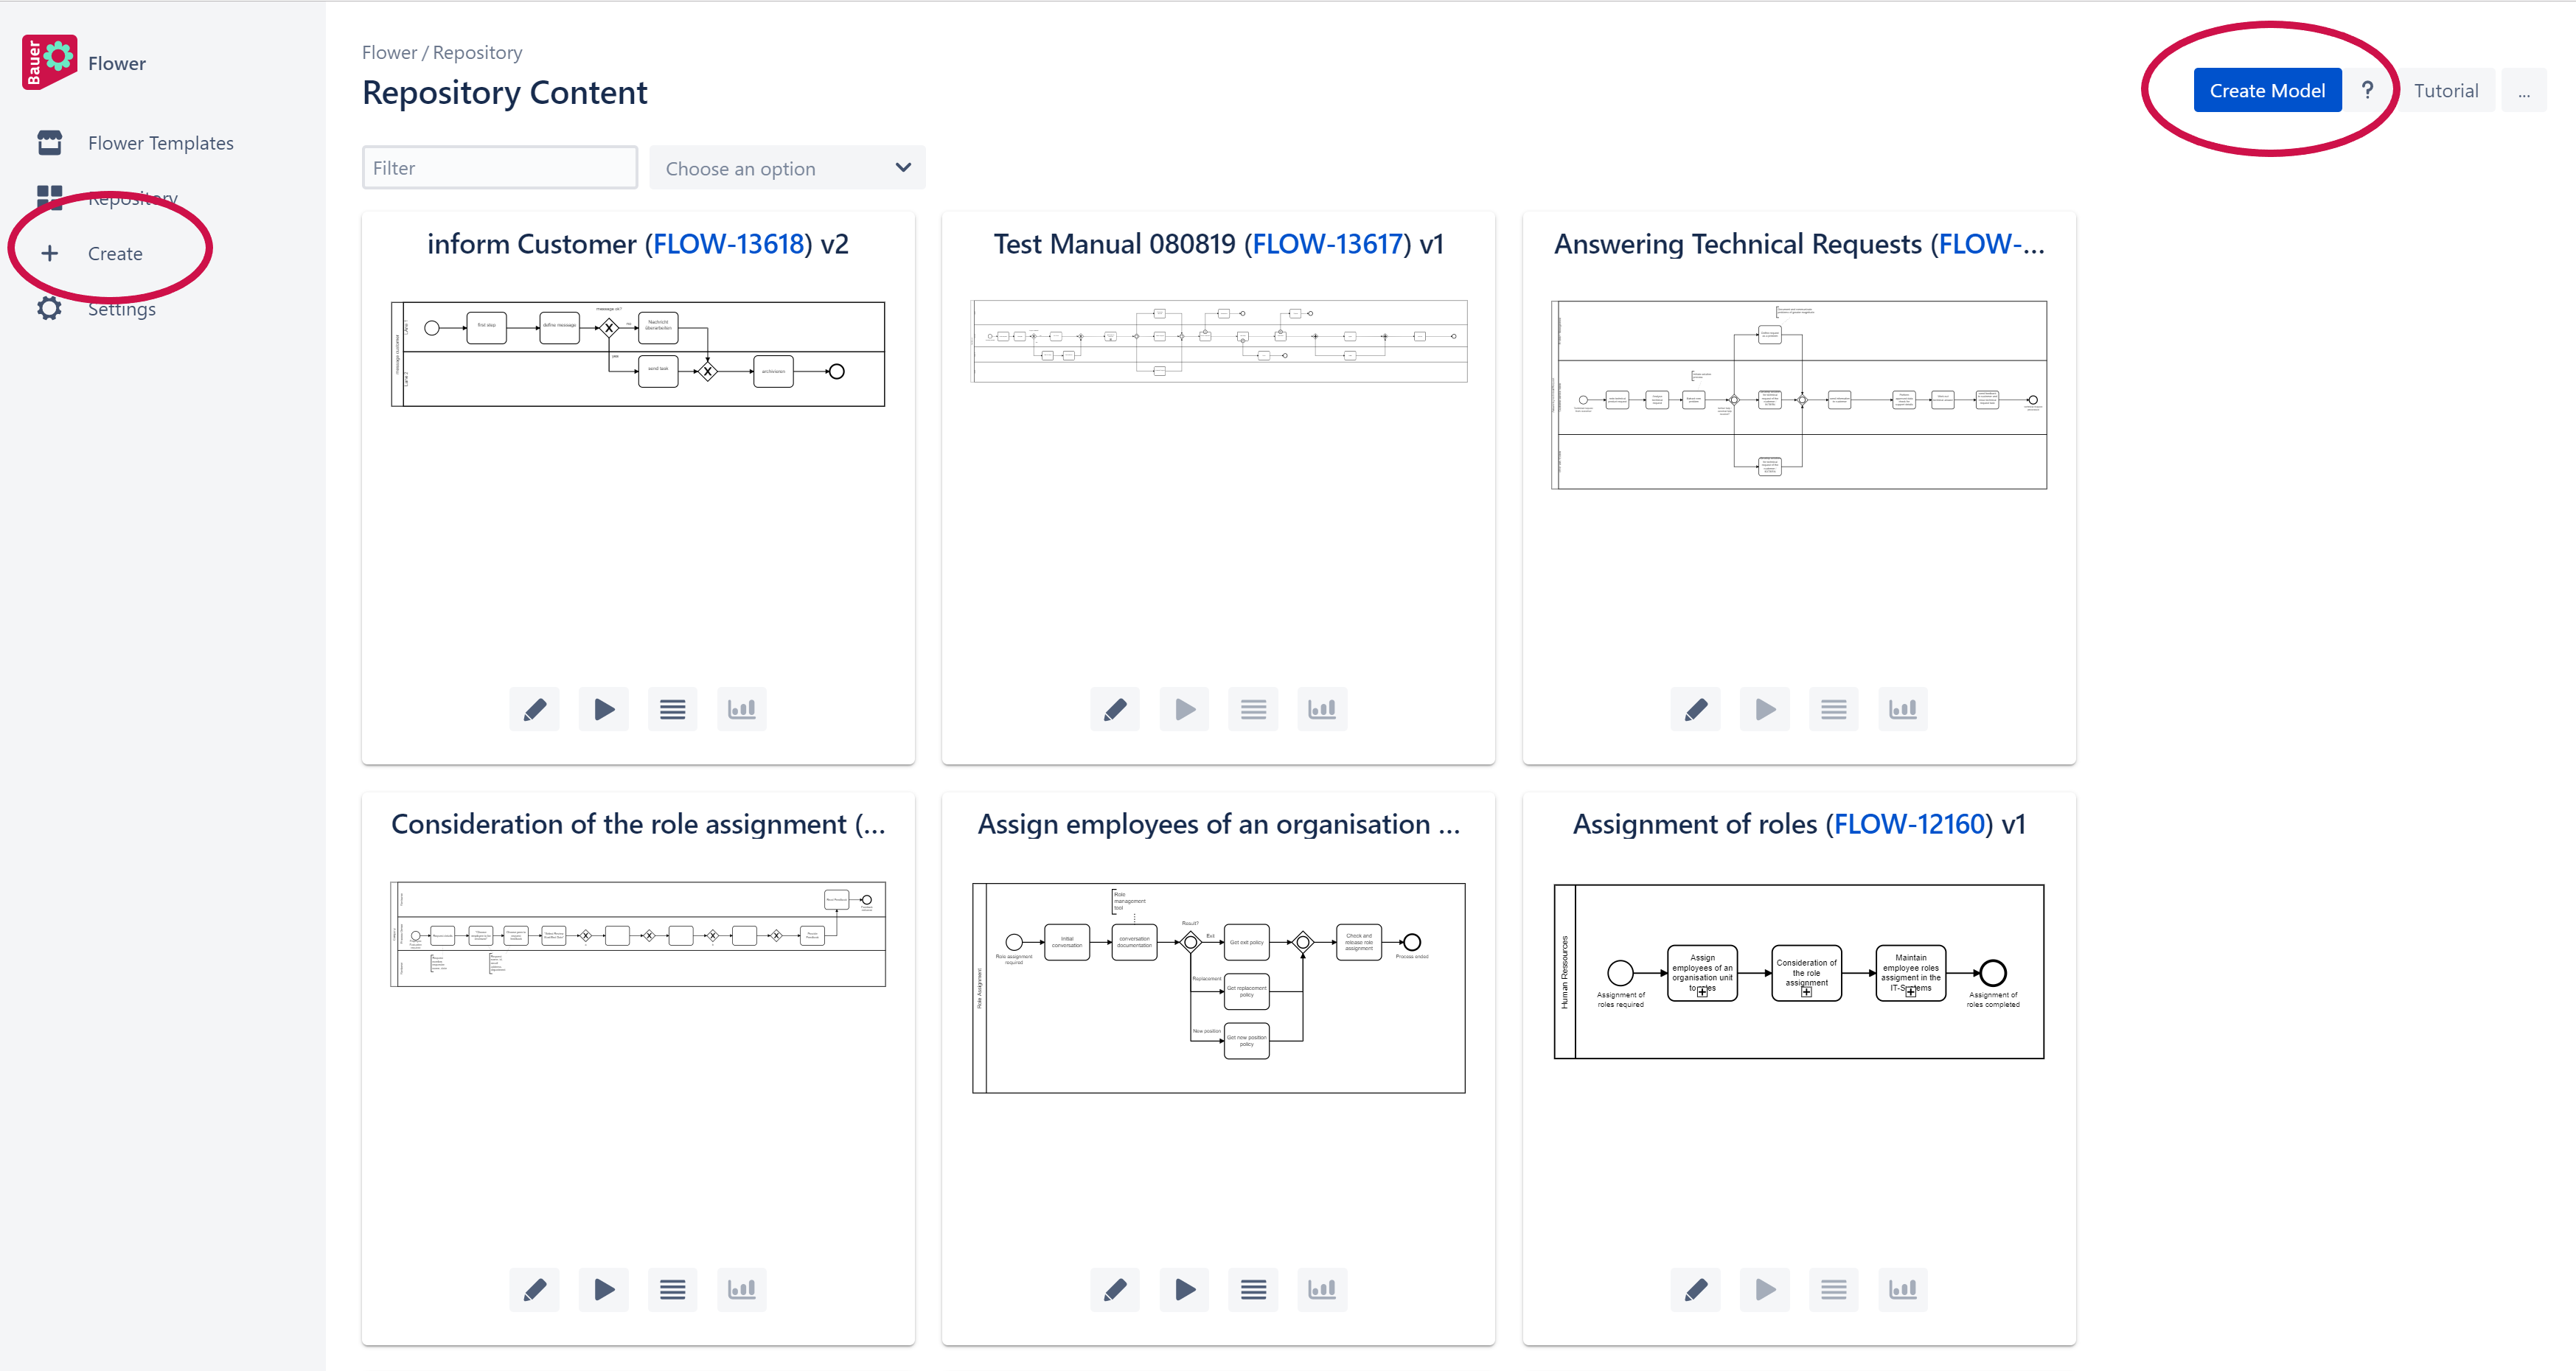
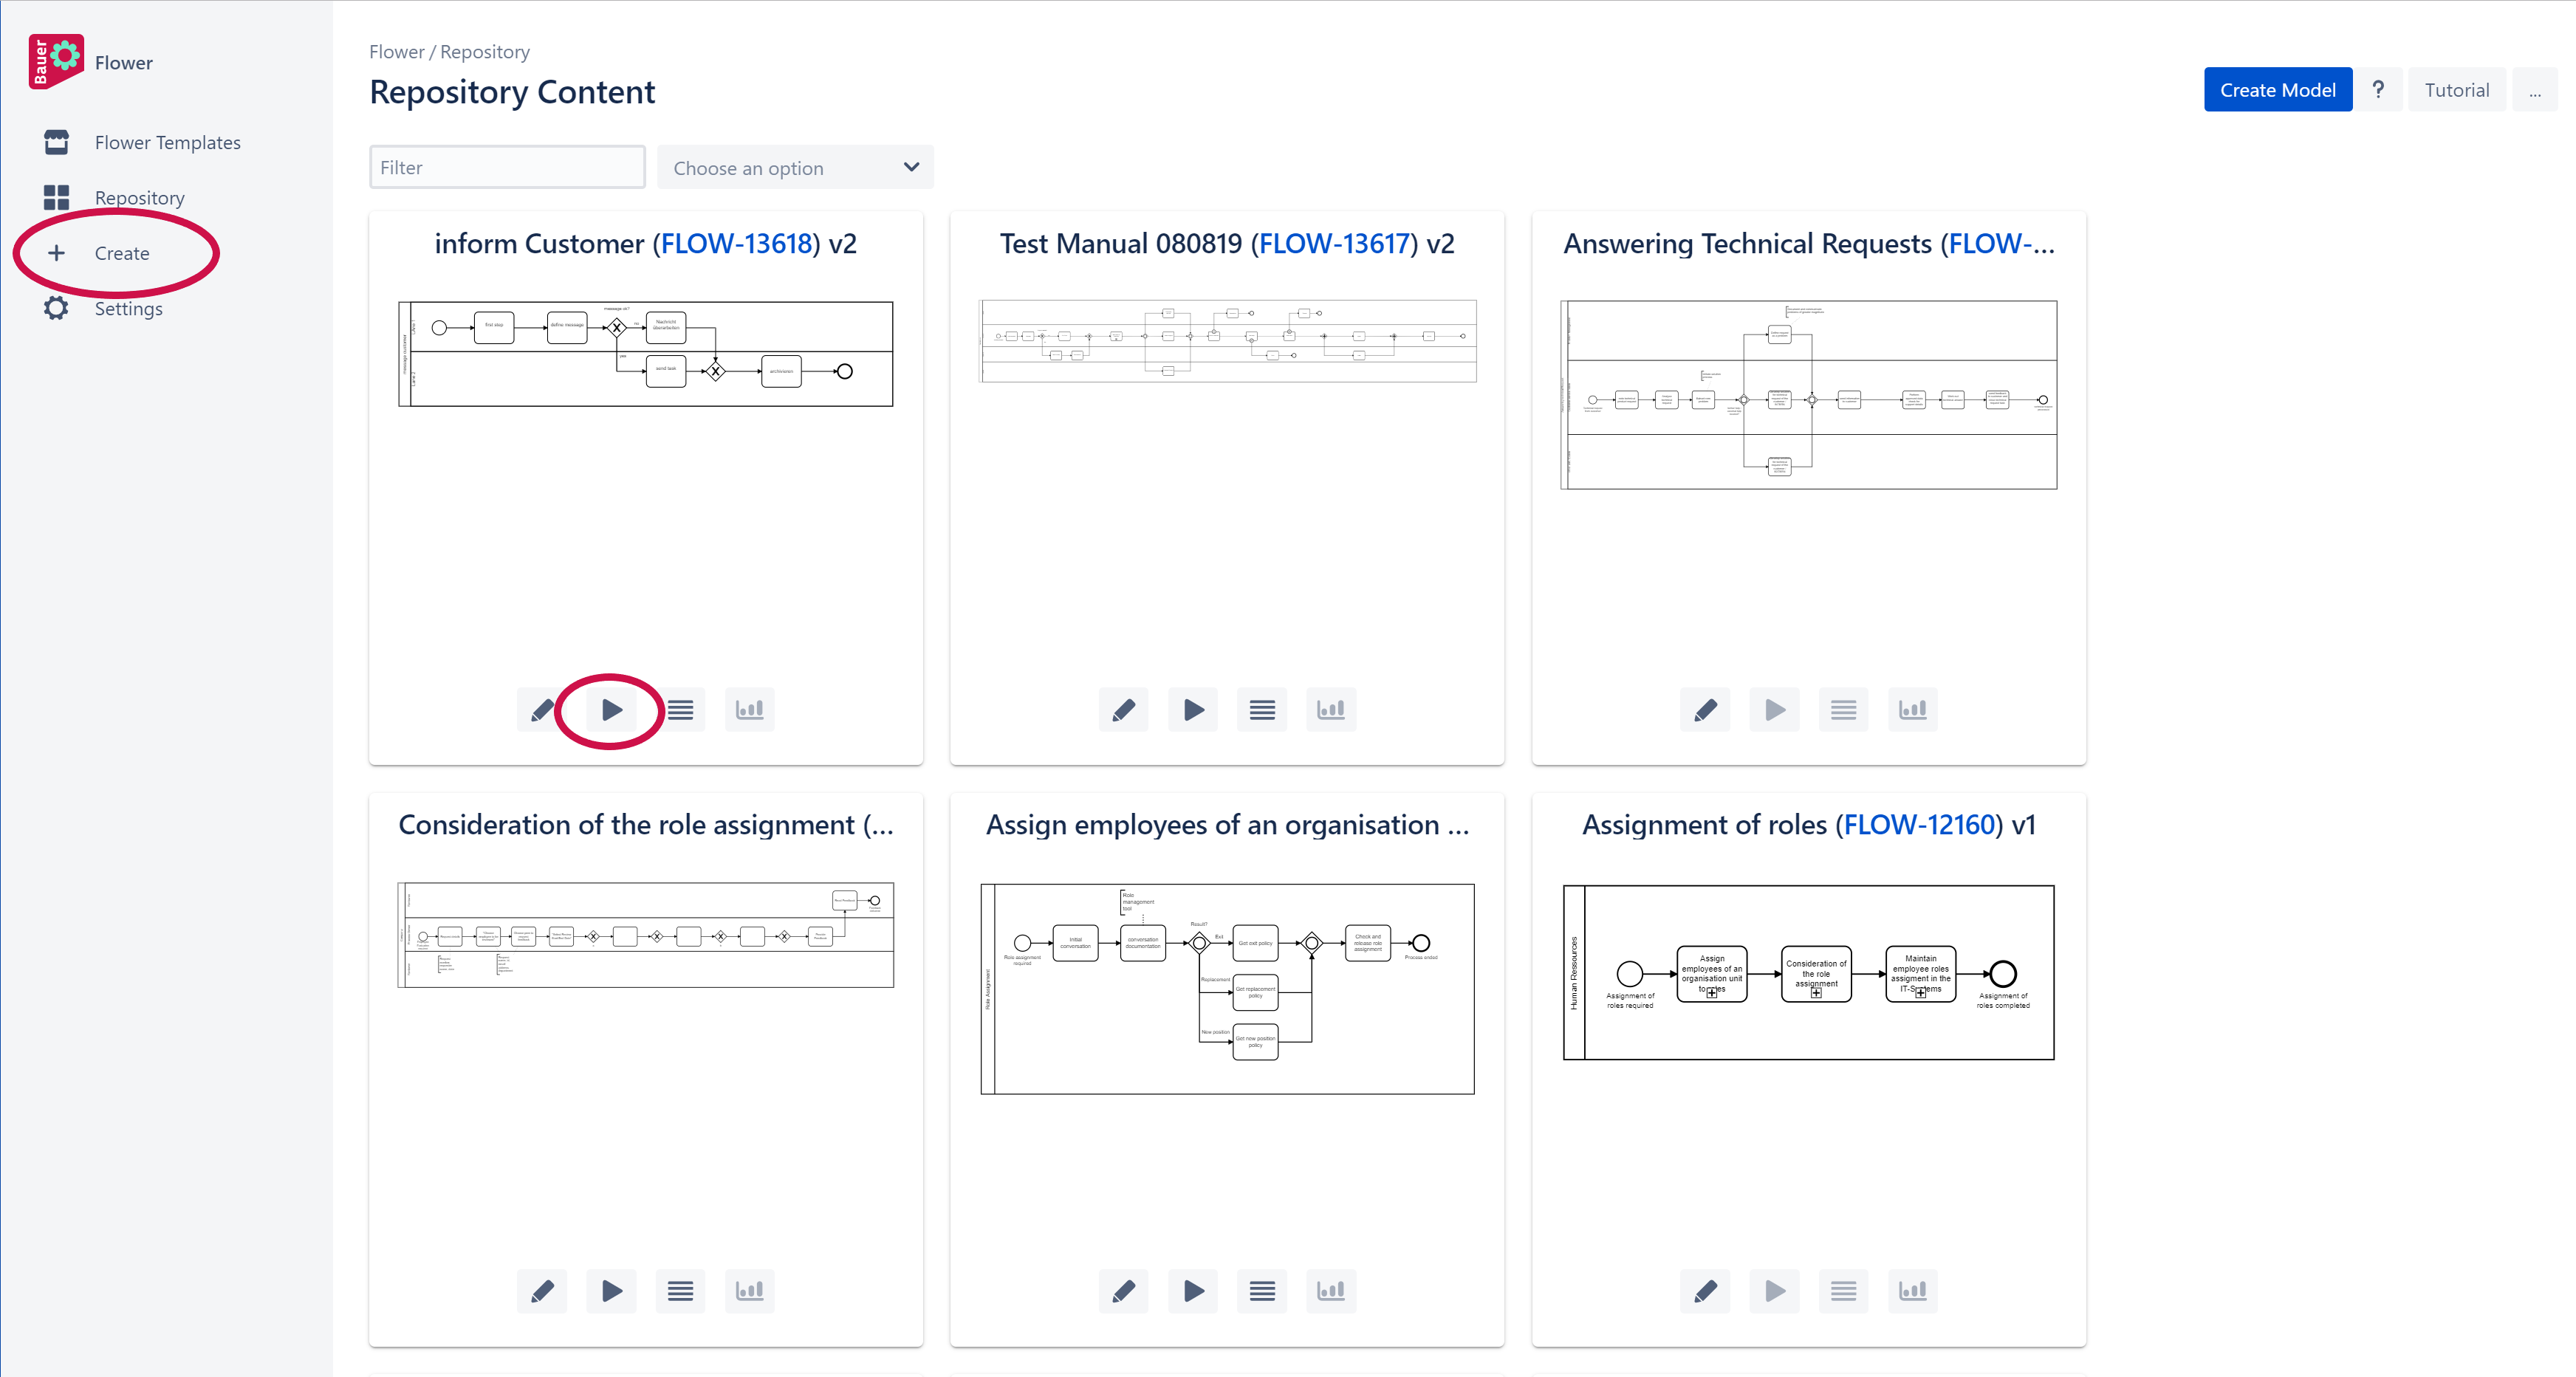
Click the "Create Model"-button in the top right-hand corner to get started with your first Flower process.
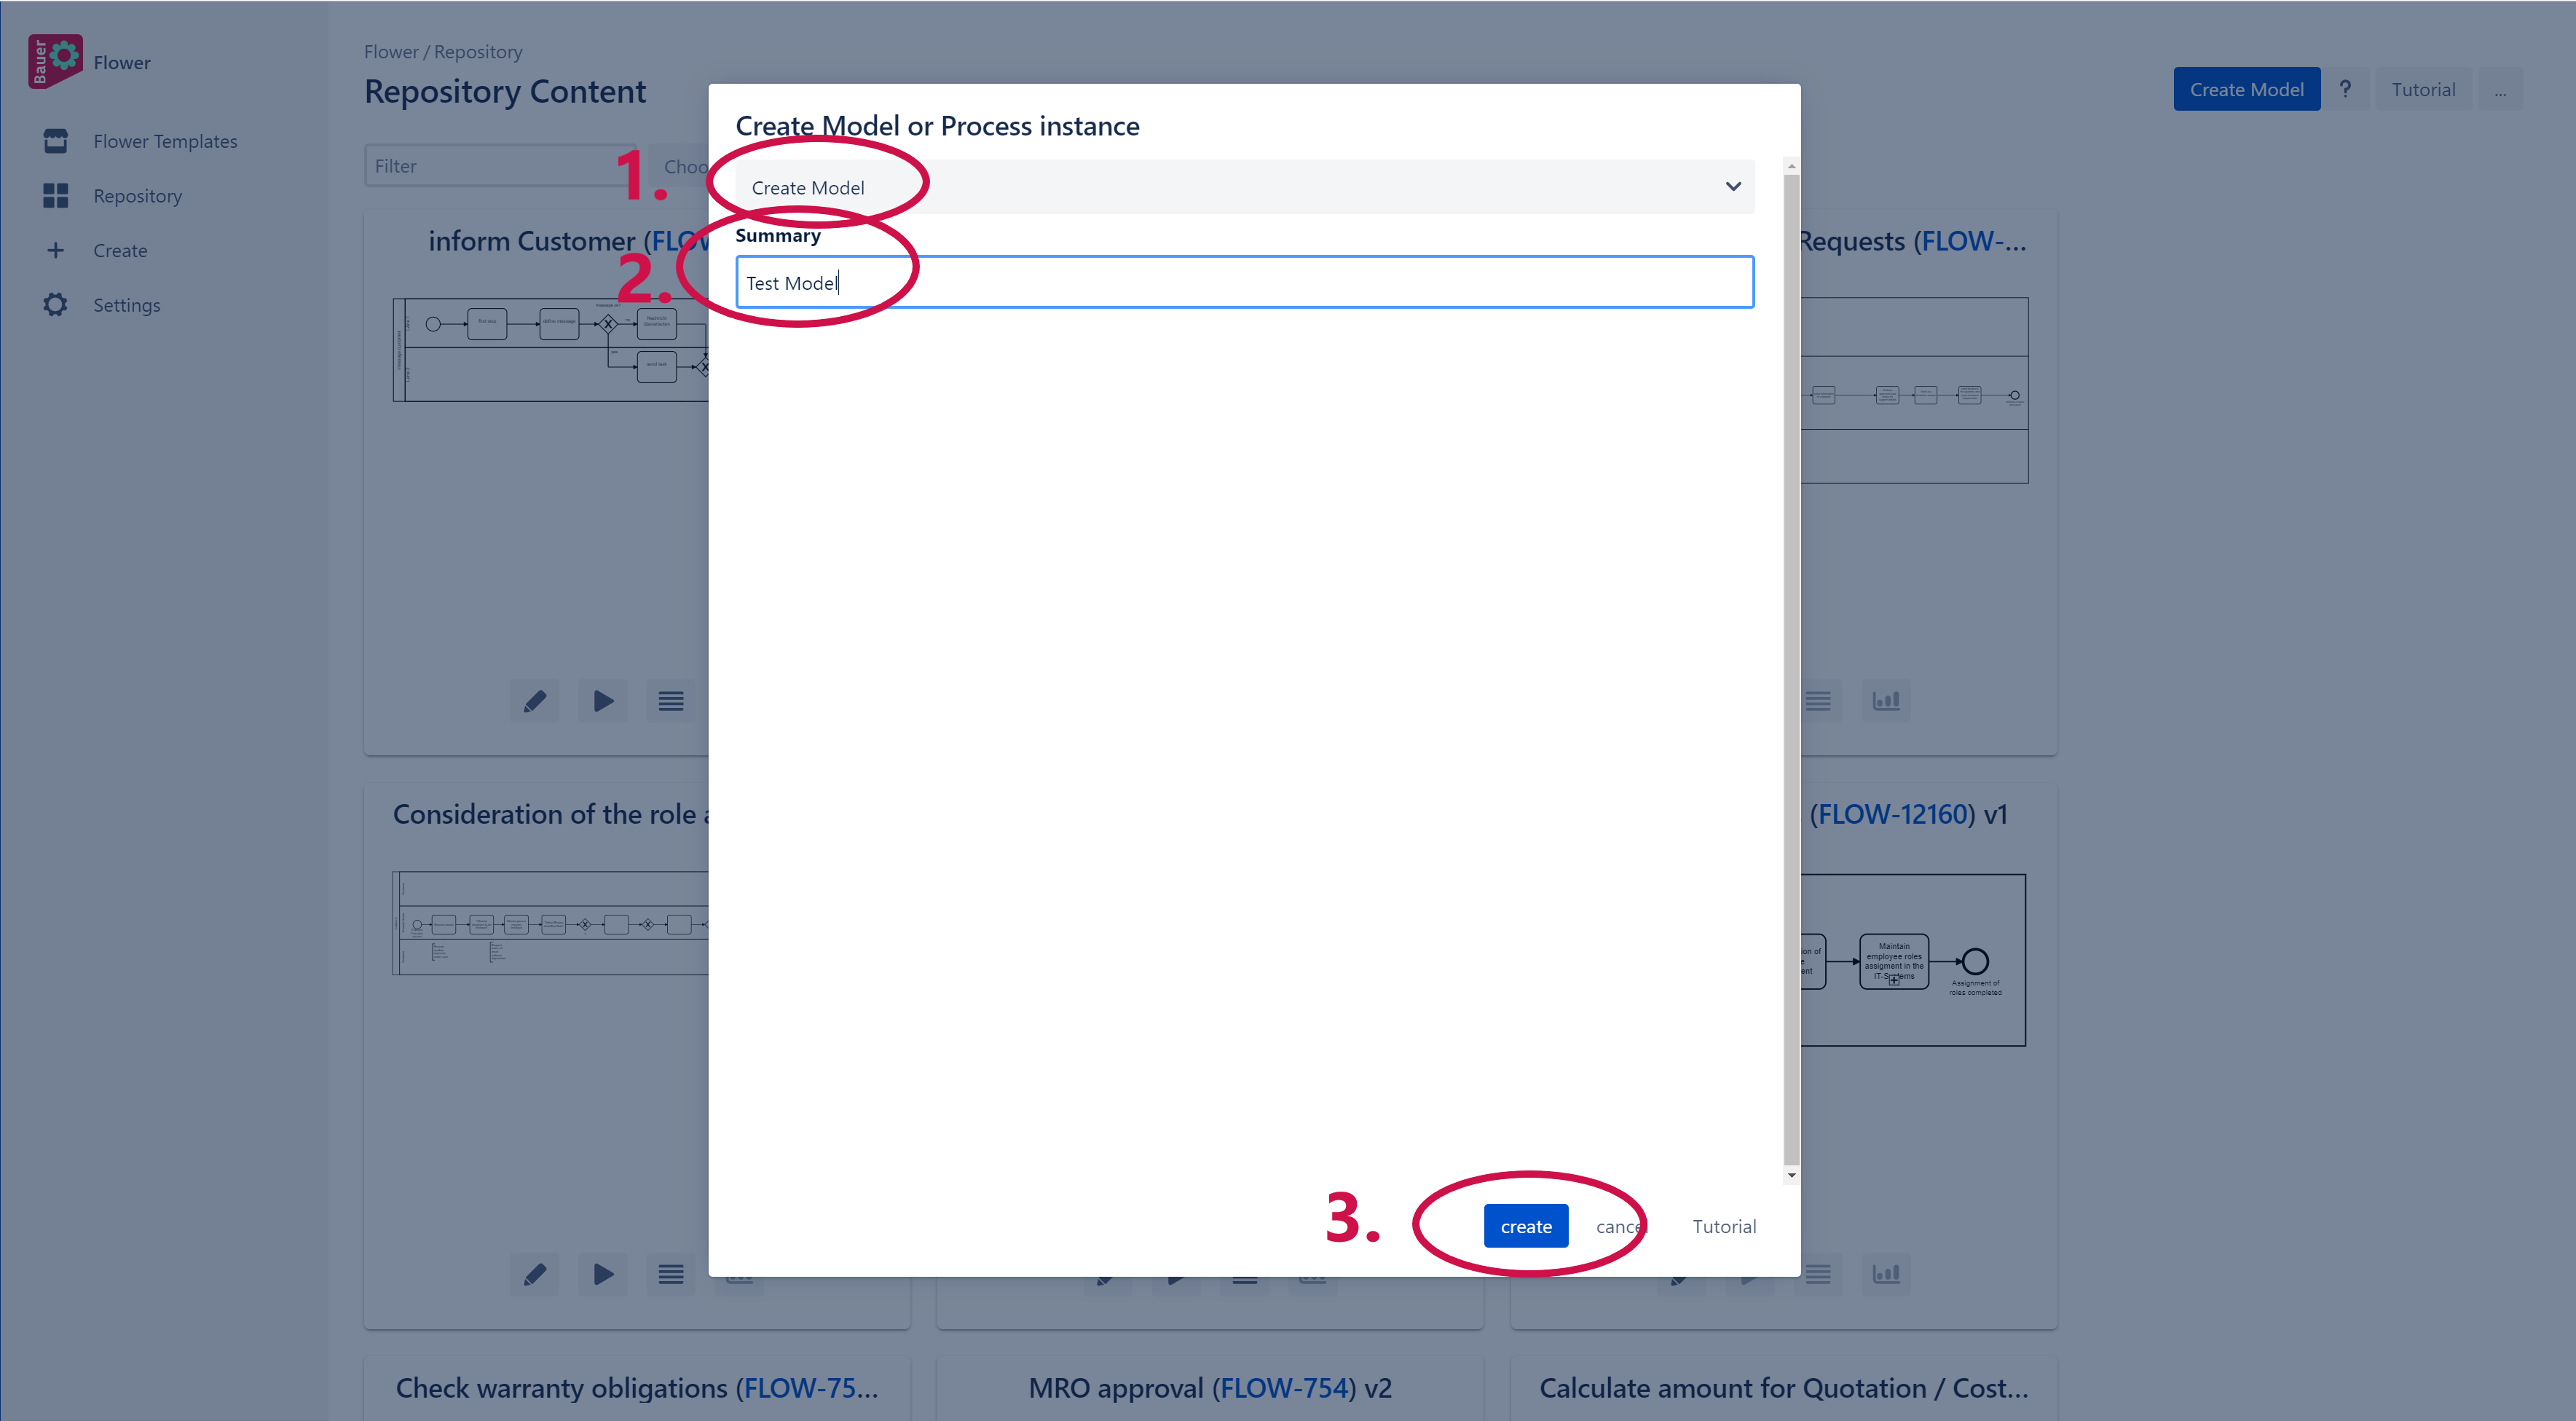
1.2 Select in the upcoming window “Create Model" (1), enter a name for the model (2) and confirm with "Create" (3)
You can also choose "Import Model" to import an already existing Model. This model will then be added to your Model Repository.
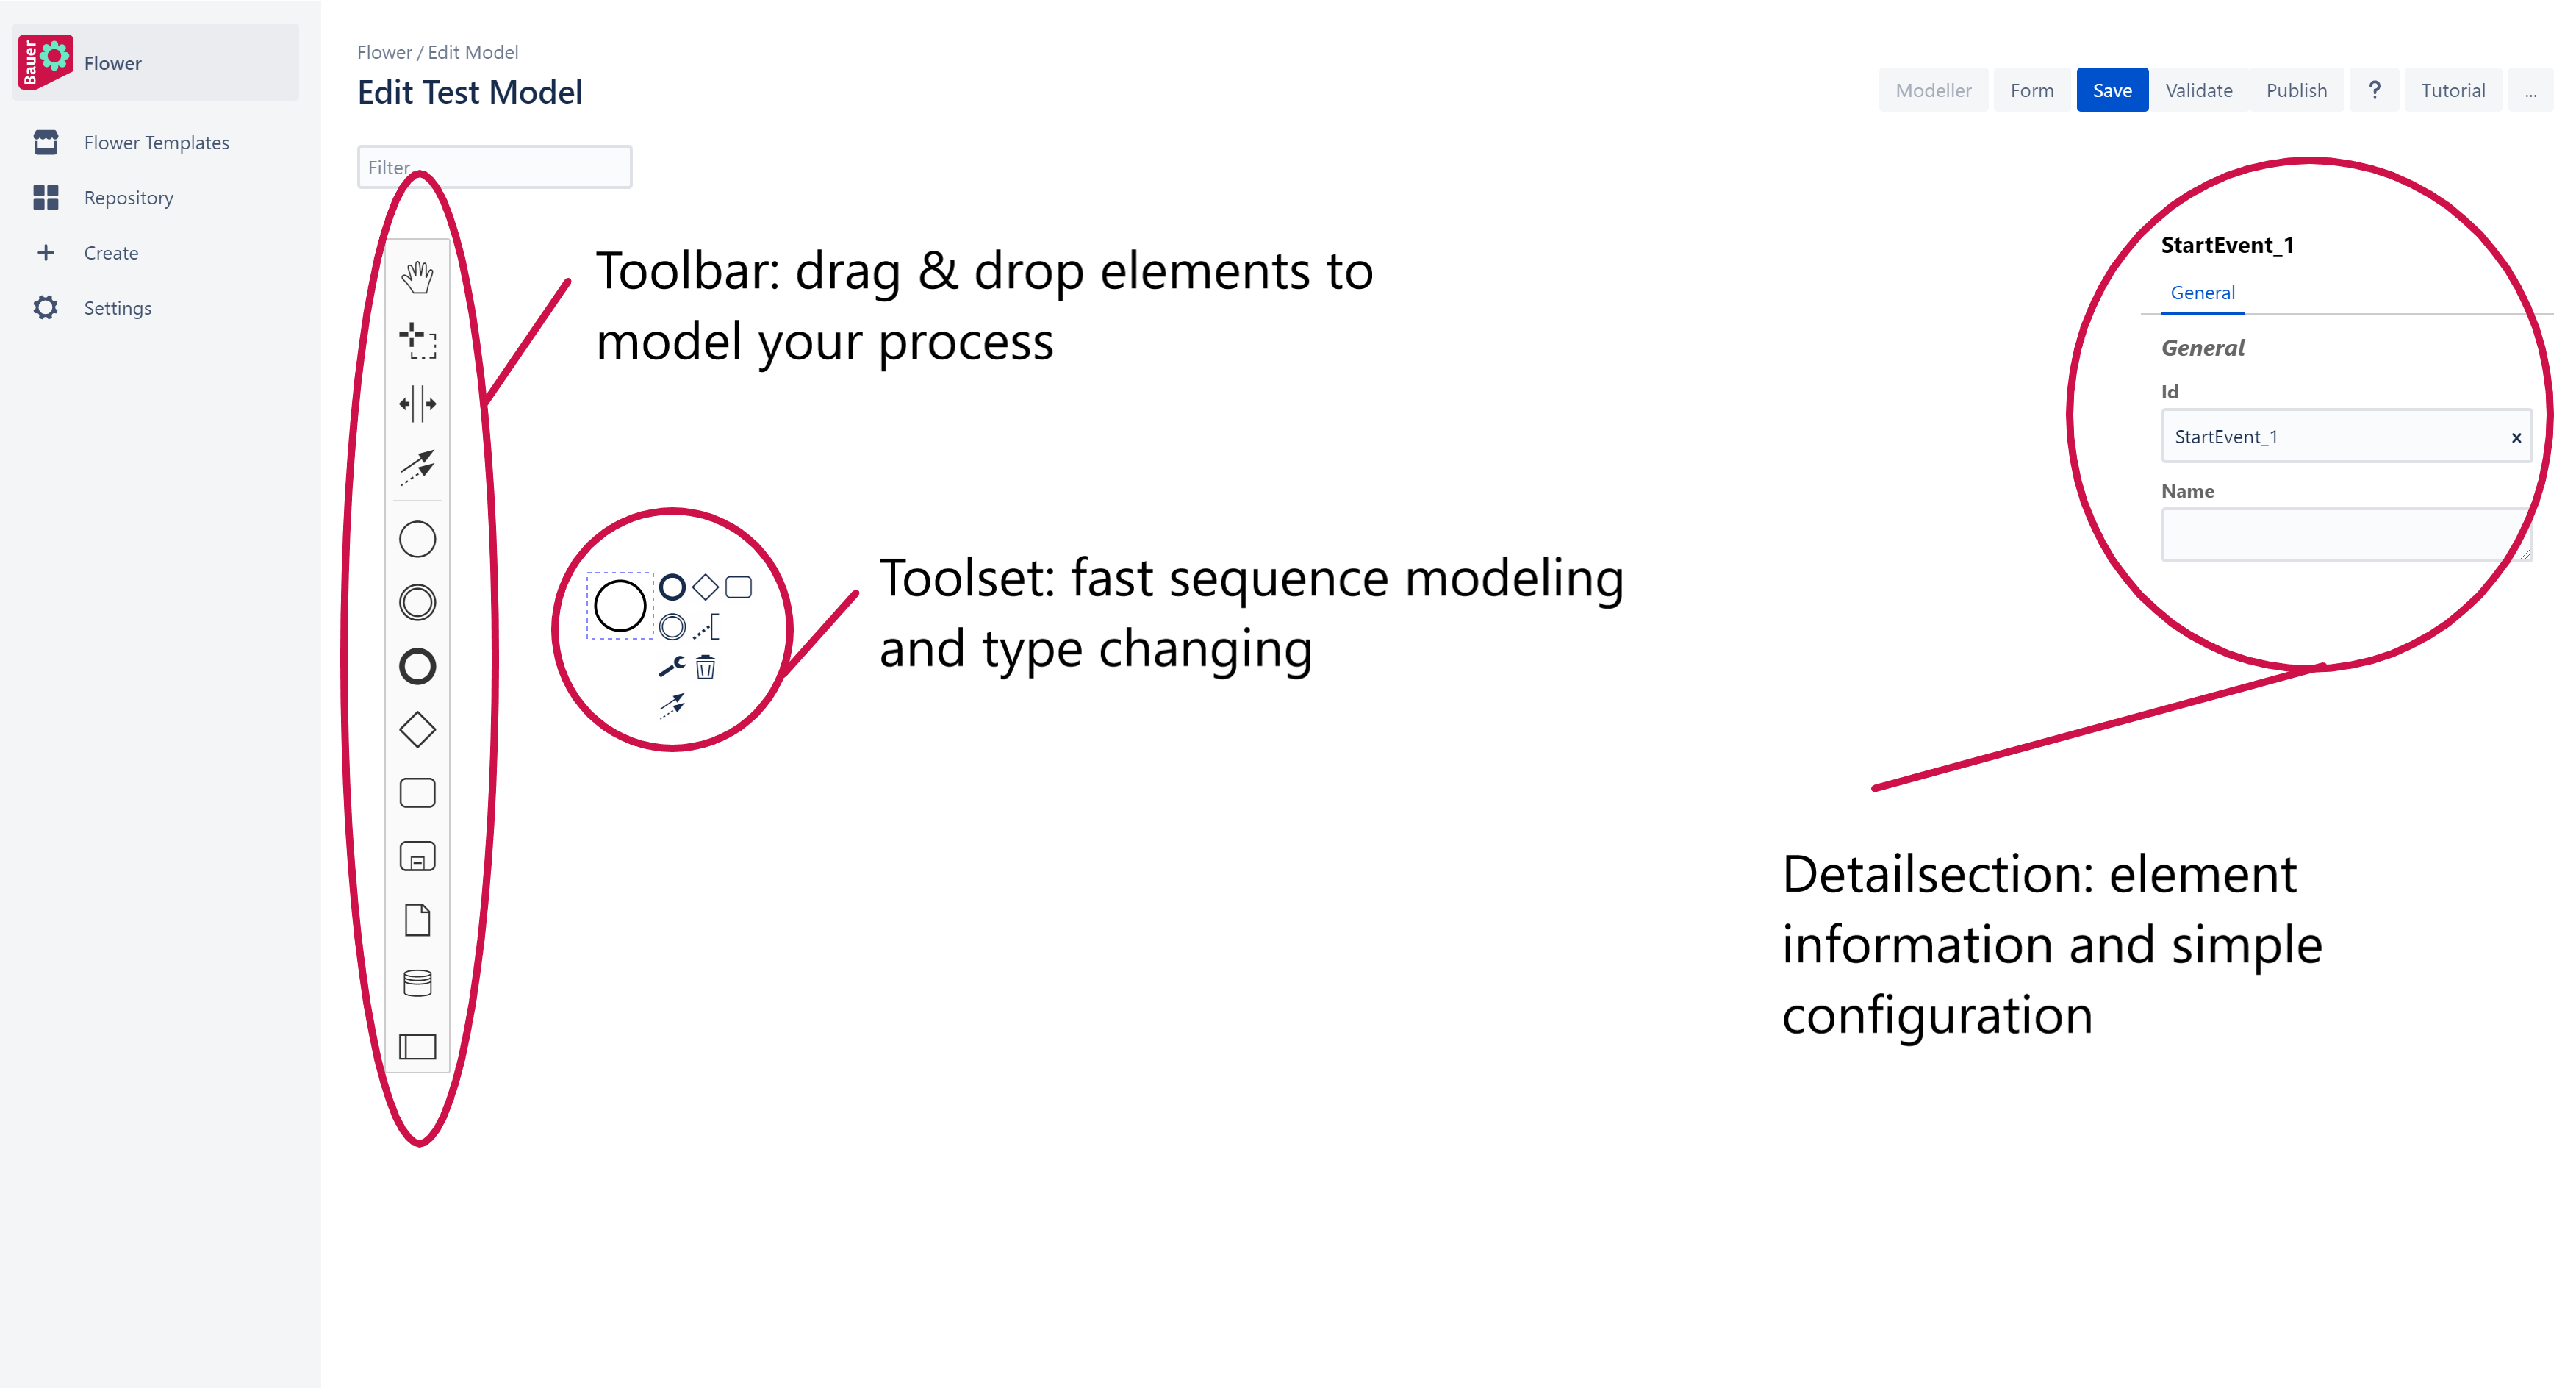
1.3 Model the process by using elements from the Toolbar or the Toolset
First of all we recommend creating a swimlane for each person or department involved in the process.
To model your first Process we list here the most important basic BPMN elements:
- Start/End event: start and end your process with a Start/End event
- Task: tells the user what to do in this process step
- Gateway: splits up the token into one or more different lanes and represents a decision point; there are three different gateway types:
Exclusive: Only one of the two possible paths can be taken (XOR)
Inclusive: One or both of the possible paths can be taken (OR)
Parallel: Both paths have to be taken parallely (AND)
To learn more about the various BPMN elements have a look at the more detailed section: Workflow Patterns - Flower
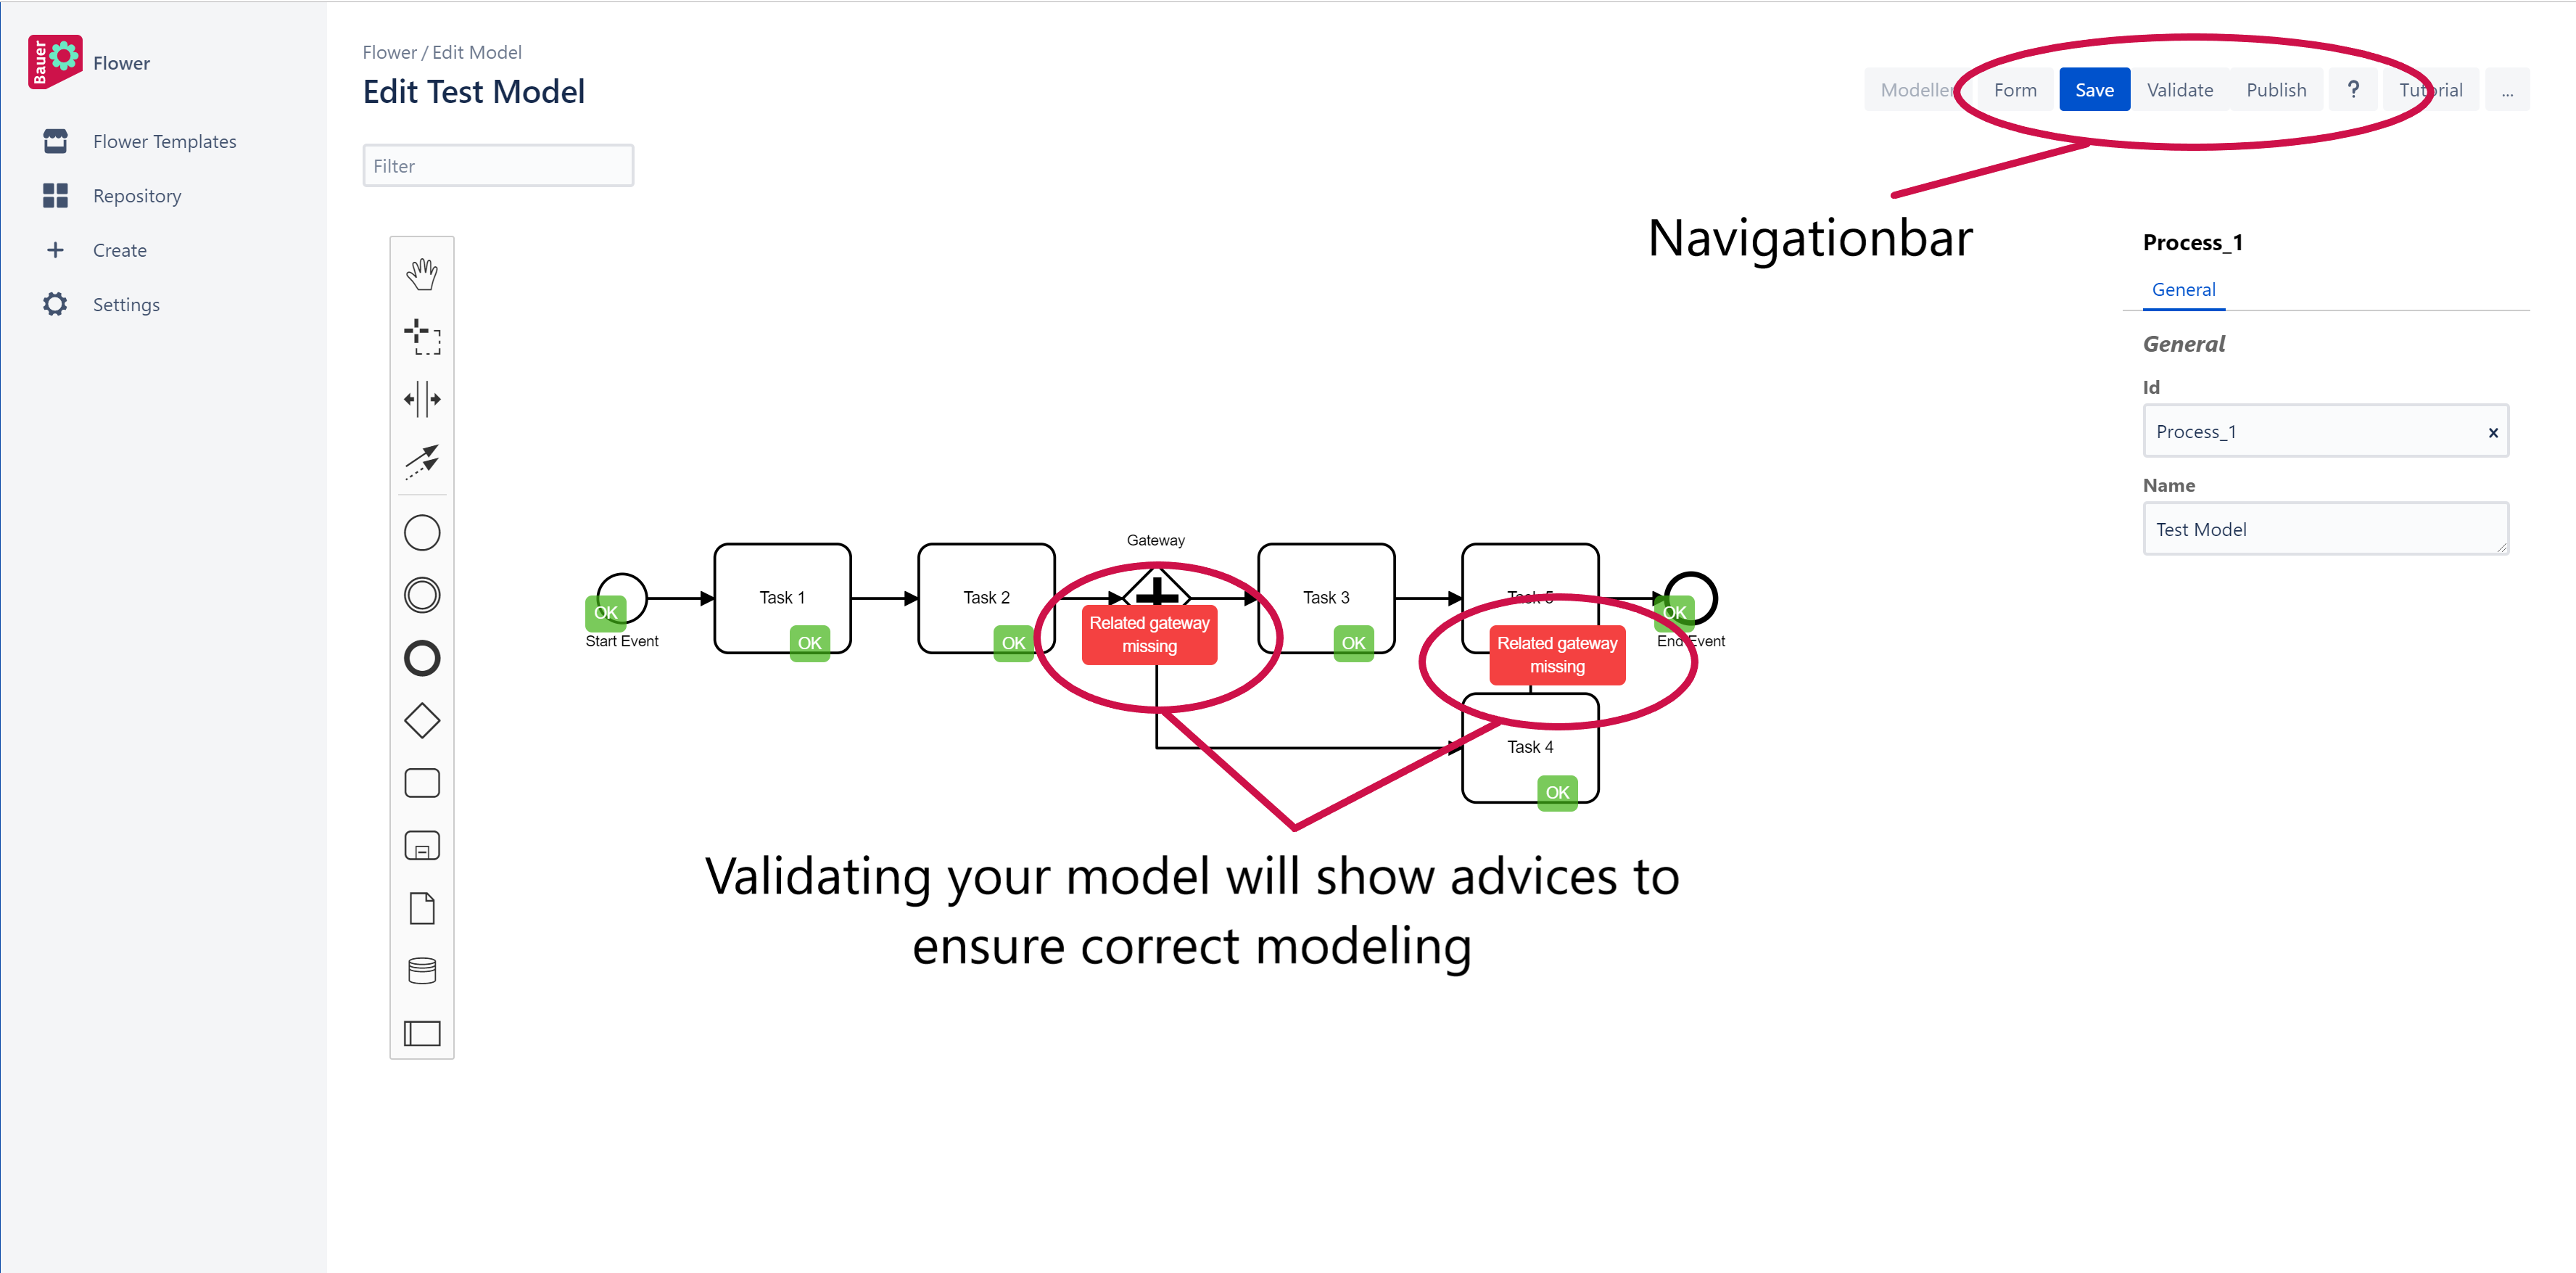
1.4 Save, validate and publish your model in the navigation bar
Your model can be published with orange warnings, but not with red warnings.
Learn more by accessing our Workflow Patterns for Flower Processes: Workflow Patterns - Flower
Step 2 - Form Builder
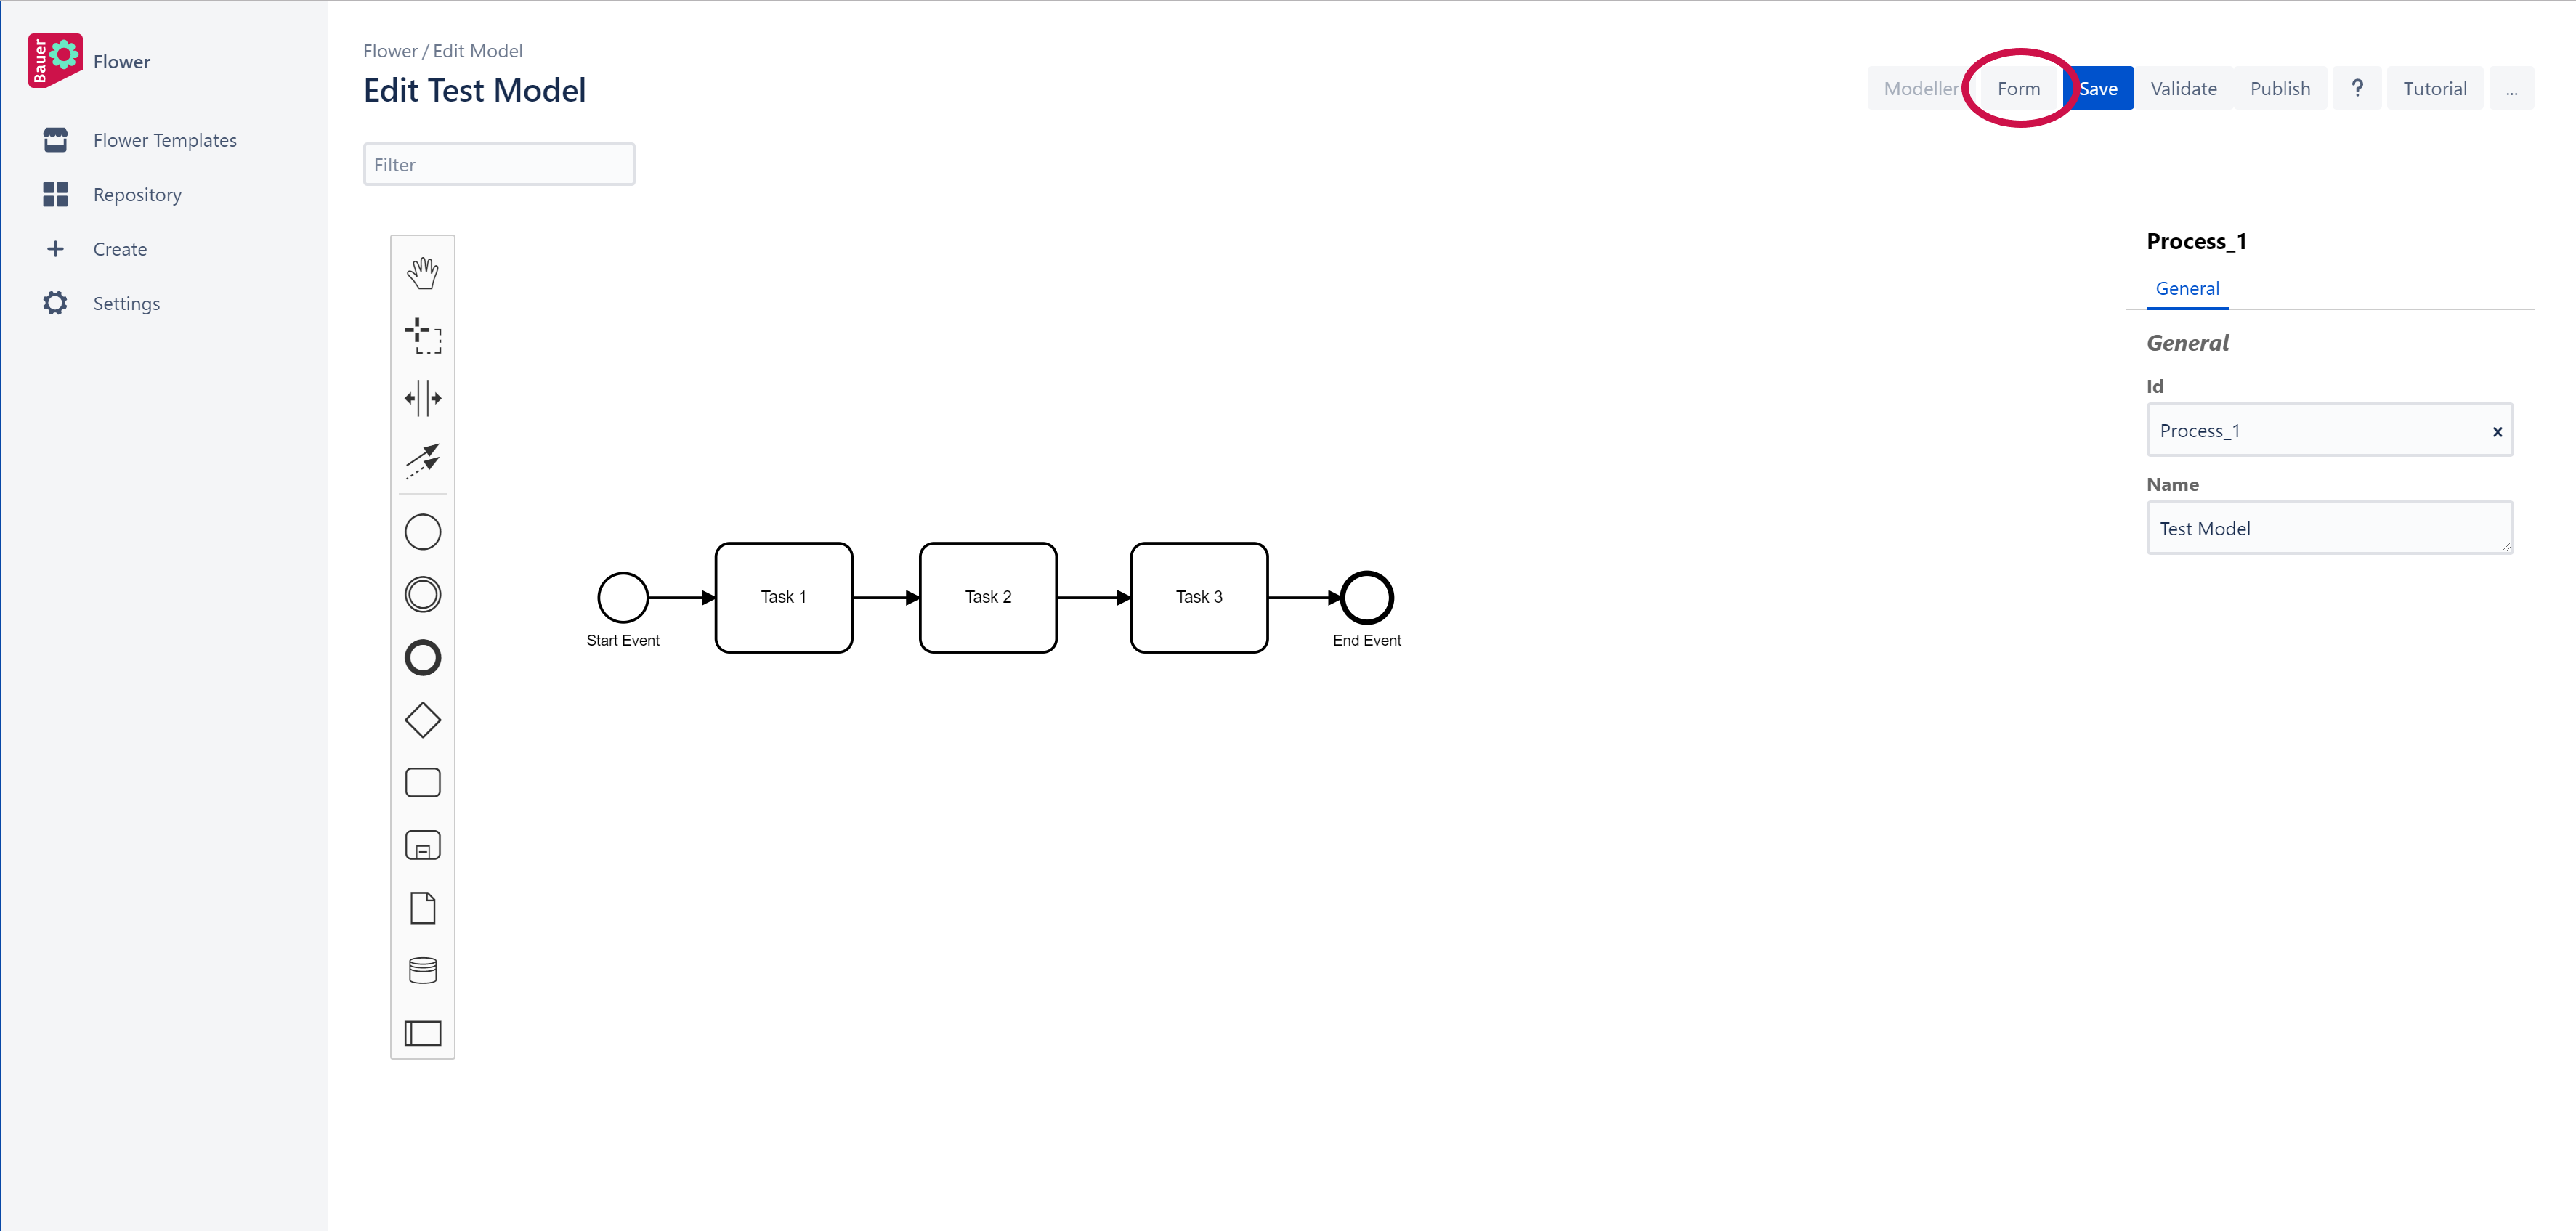
2.1 Choose "Form" from the navigation bar
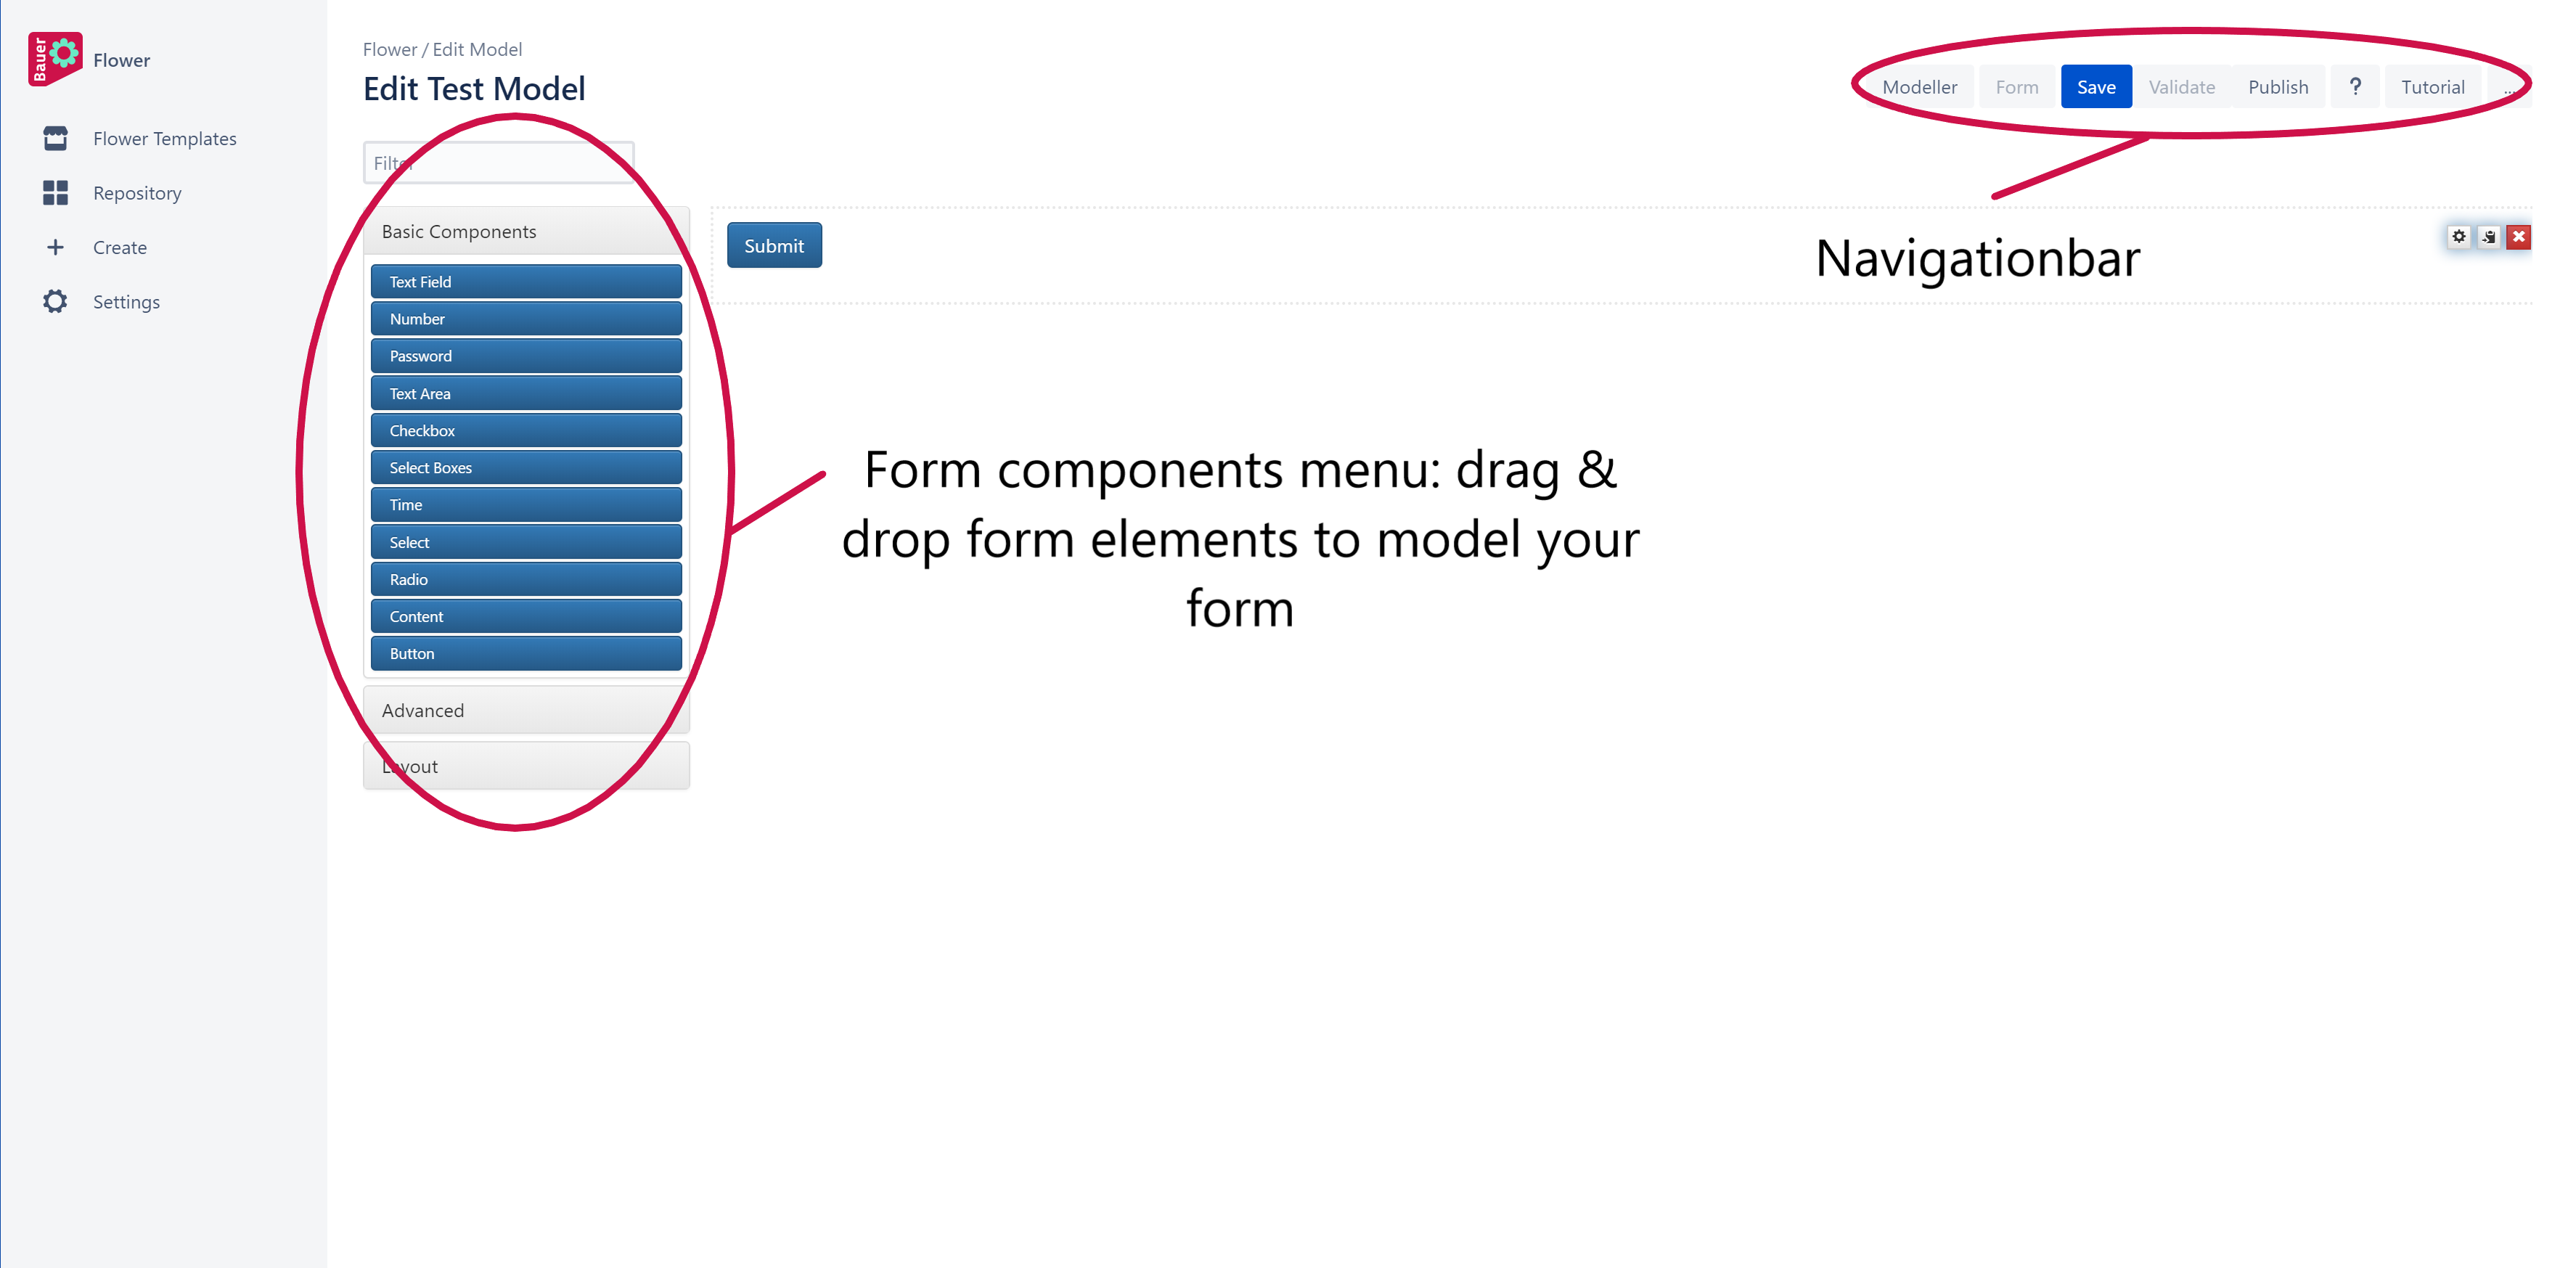
2.2 Create the form by using form components from the form components menu
We recommend creating a Tab for each department/person involved. To do so navigate to the Layout Section and select "Tab". Then add other form elements by drag & dropping them into corresponding tabs.
To get more information about the various form elements have a look at the more detailed section: Form Builder - Flower
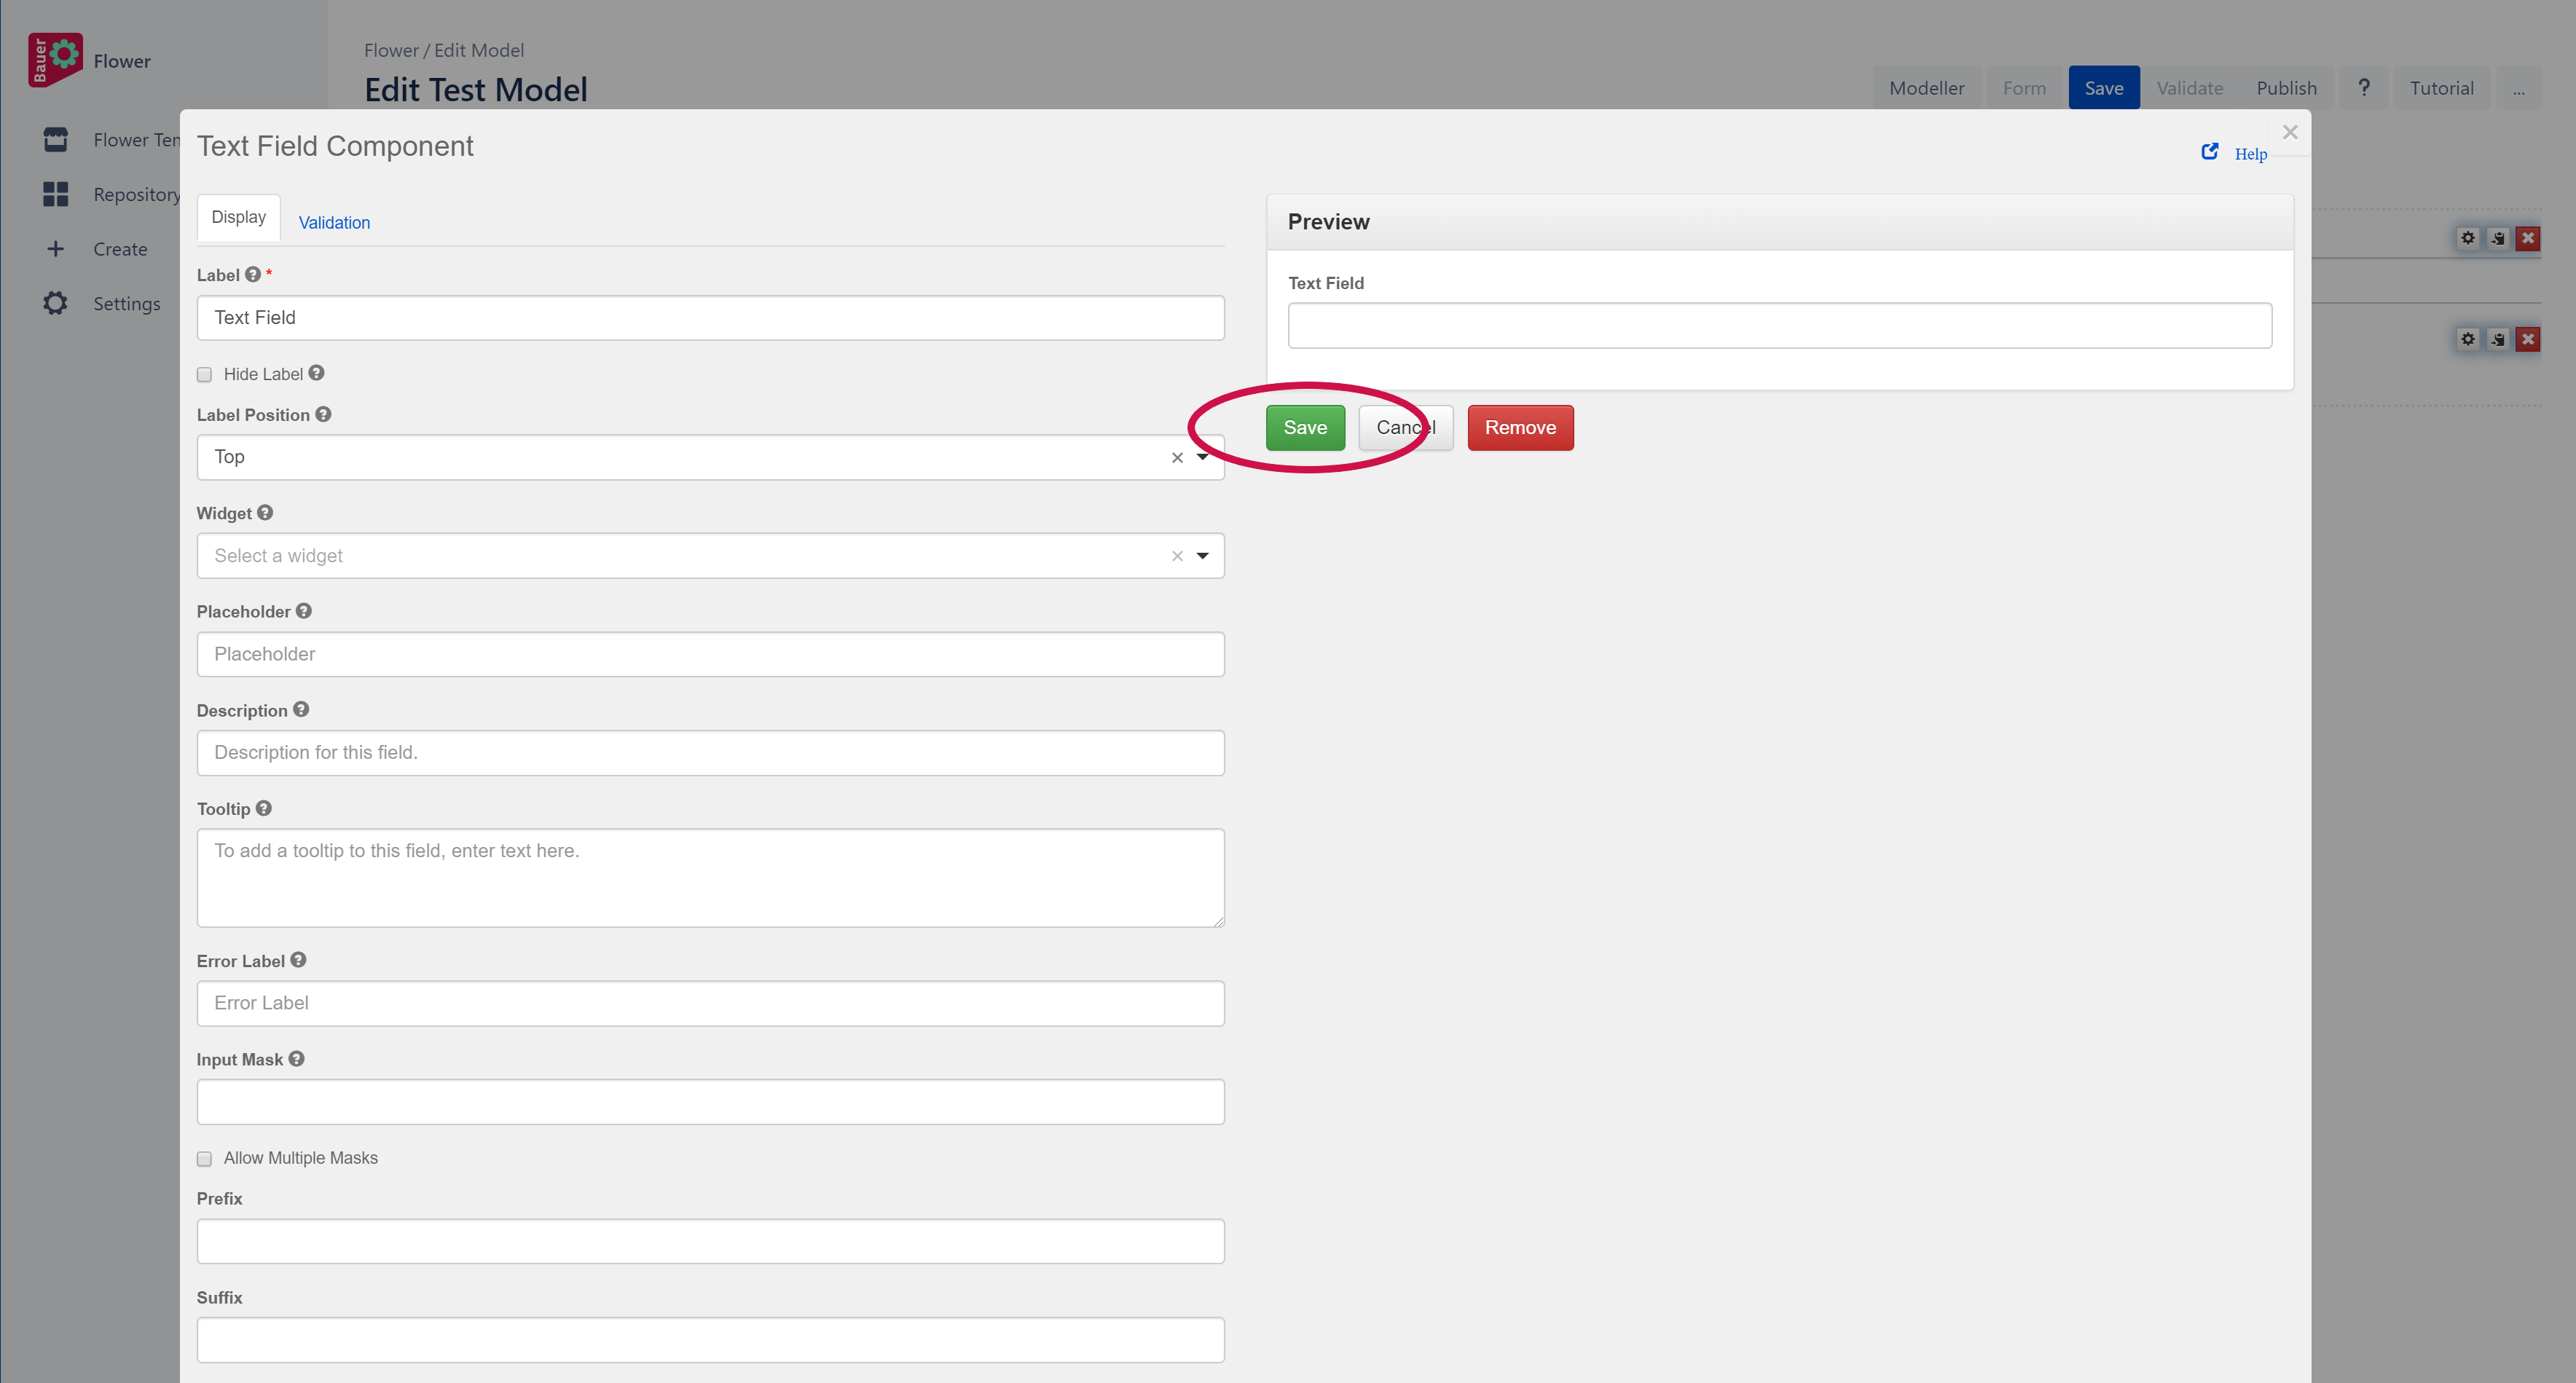
2.3 Configure the form component and add it to the form by clicking "Save"
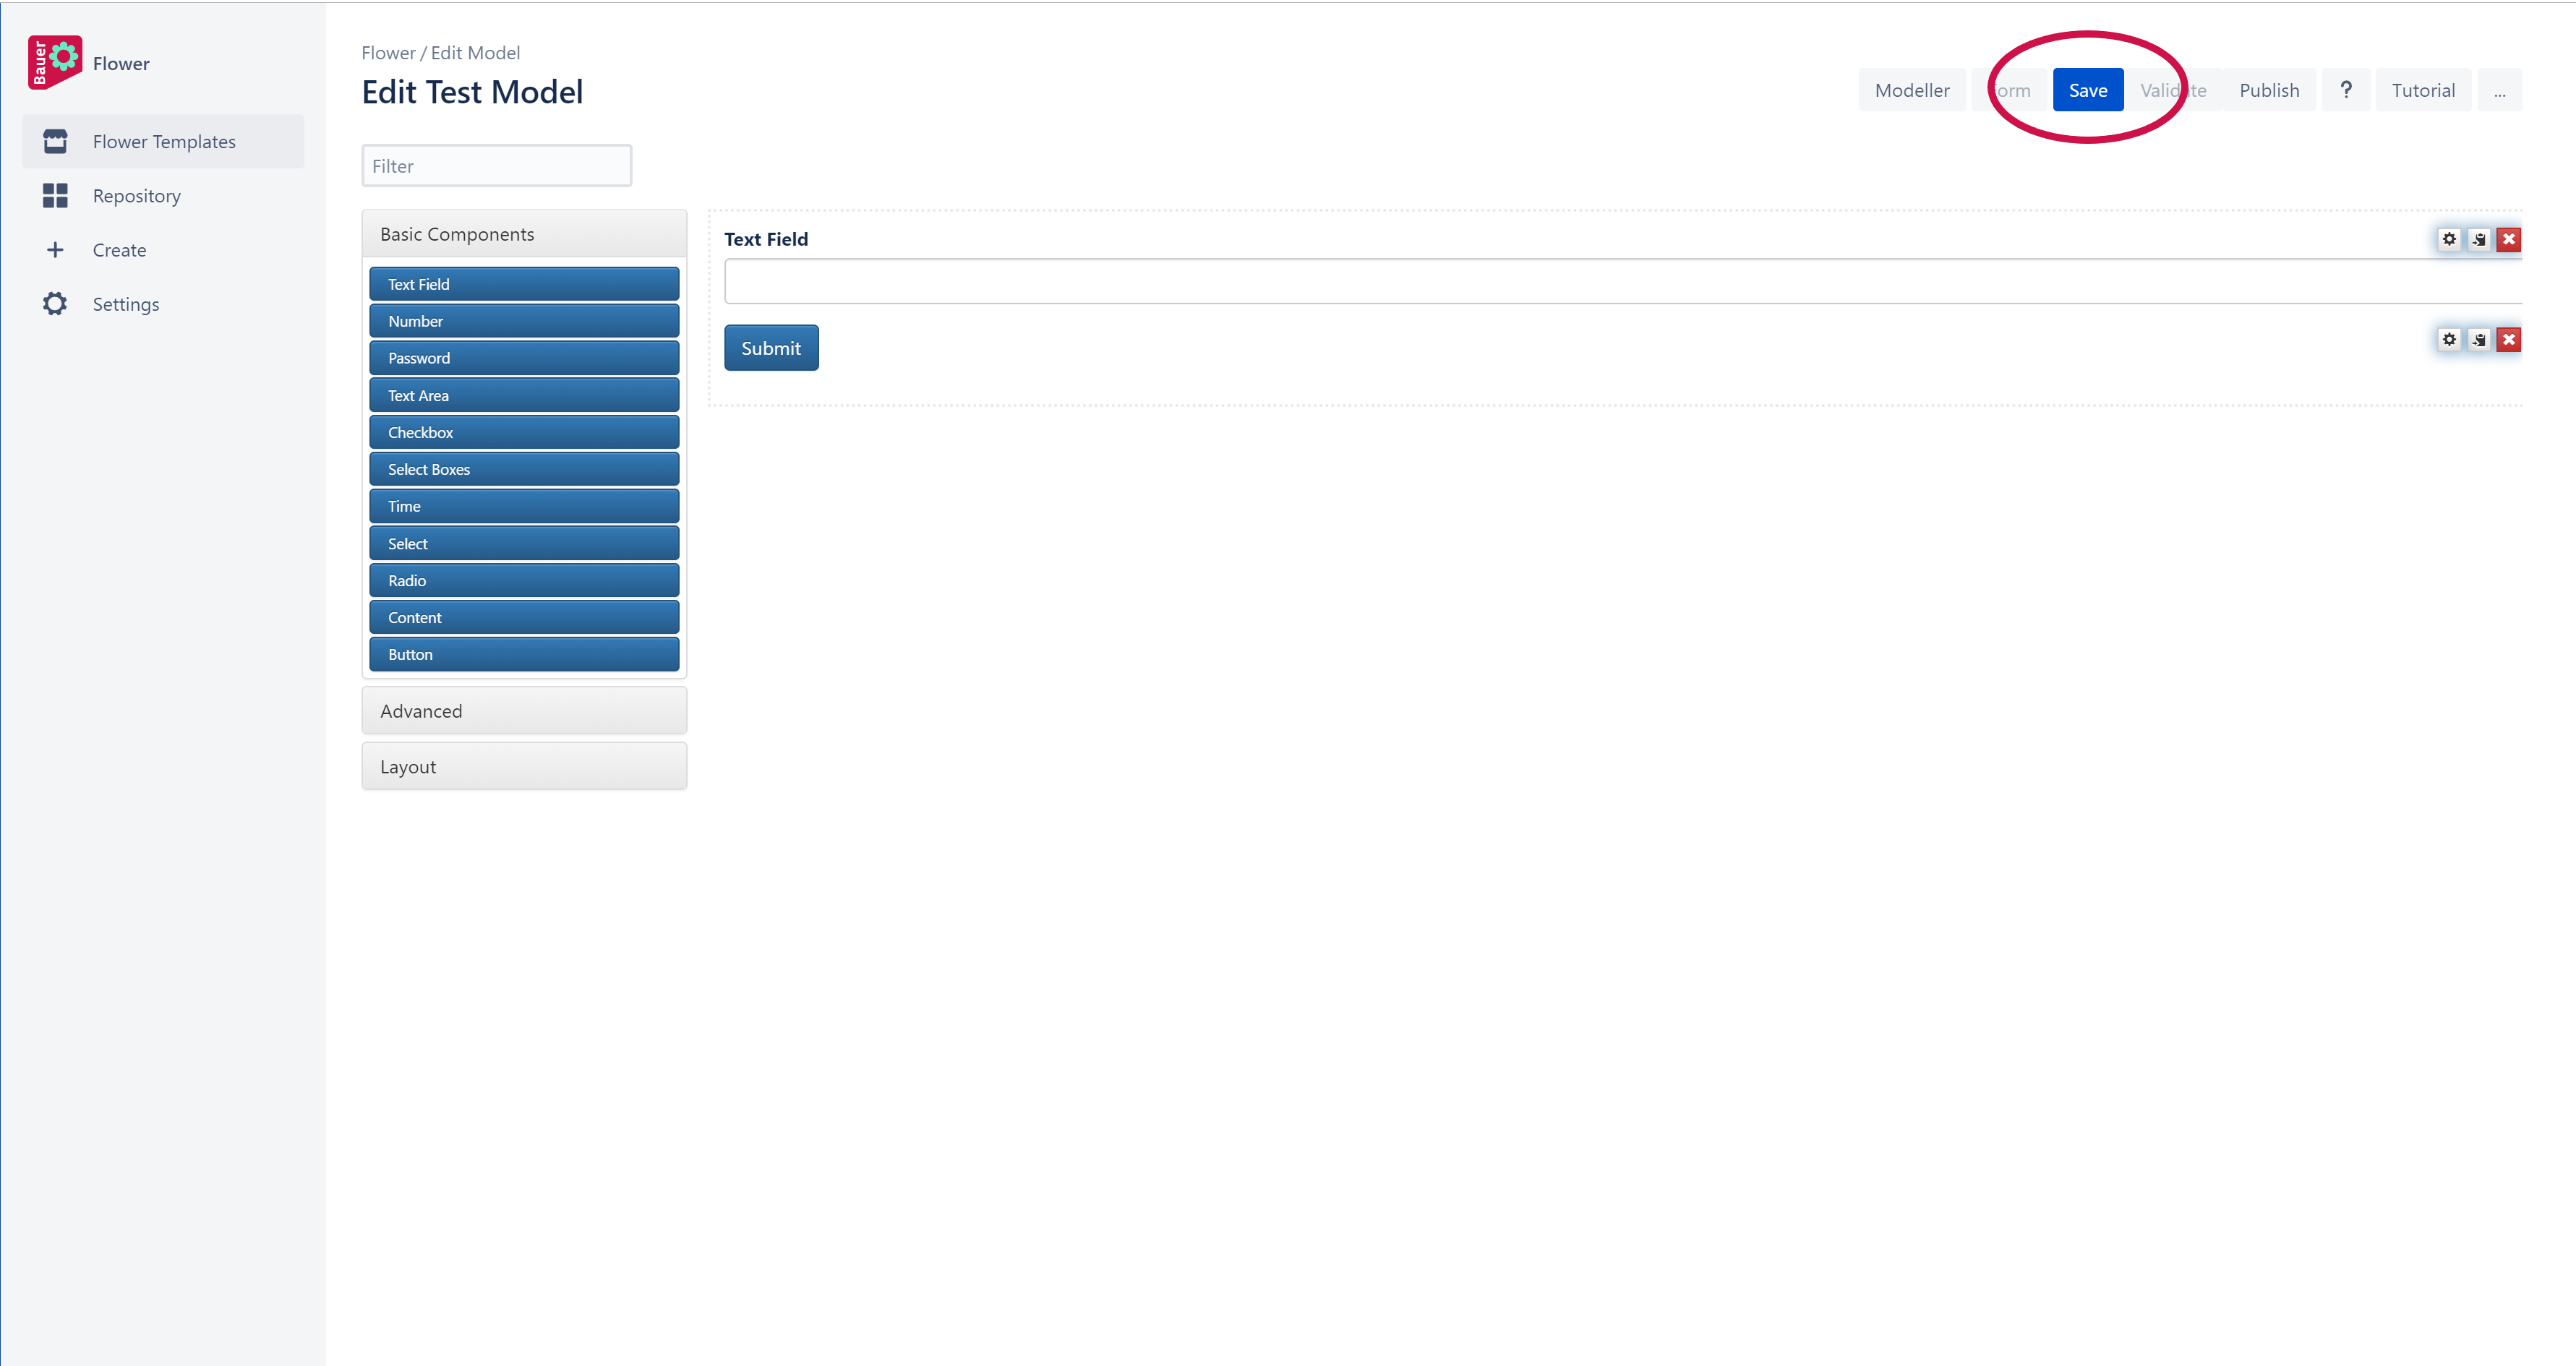
2.4 Click "Save" in the navigation bar to save your form
Access the more detailled version here: Form Builder - Flower
Step 3 - Workflow Automation
3.1 Start the workflow by clicking the "Start Workflow"-button (only enabled when model was published before).
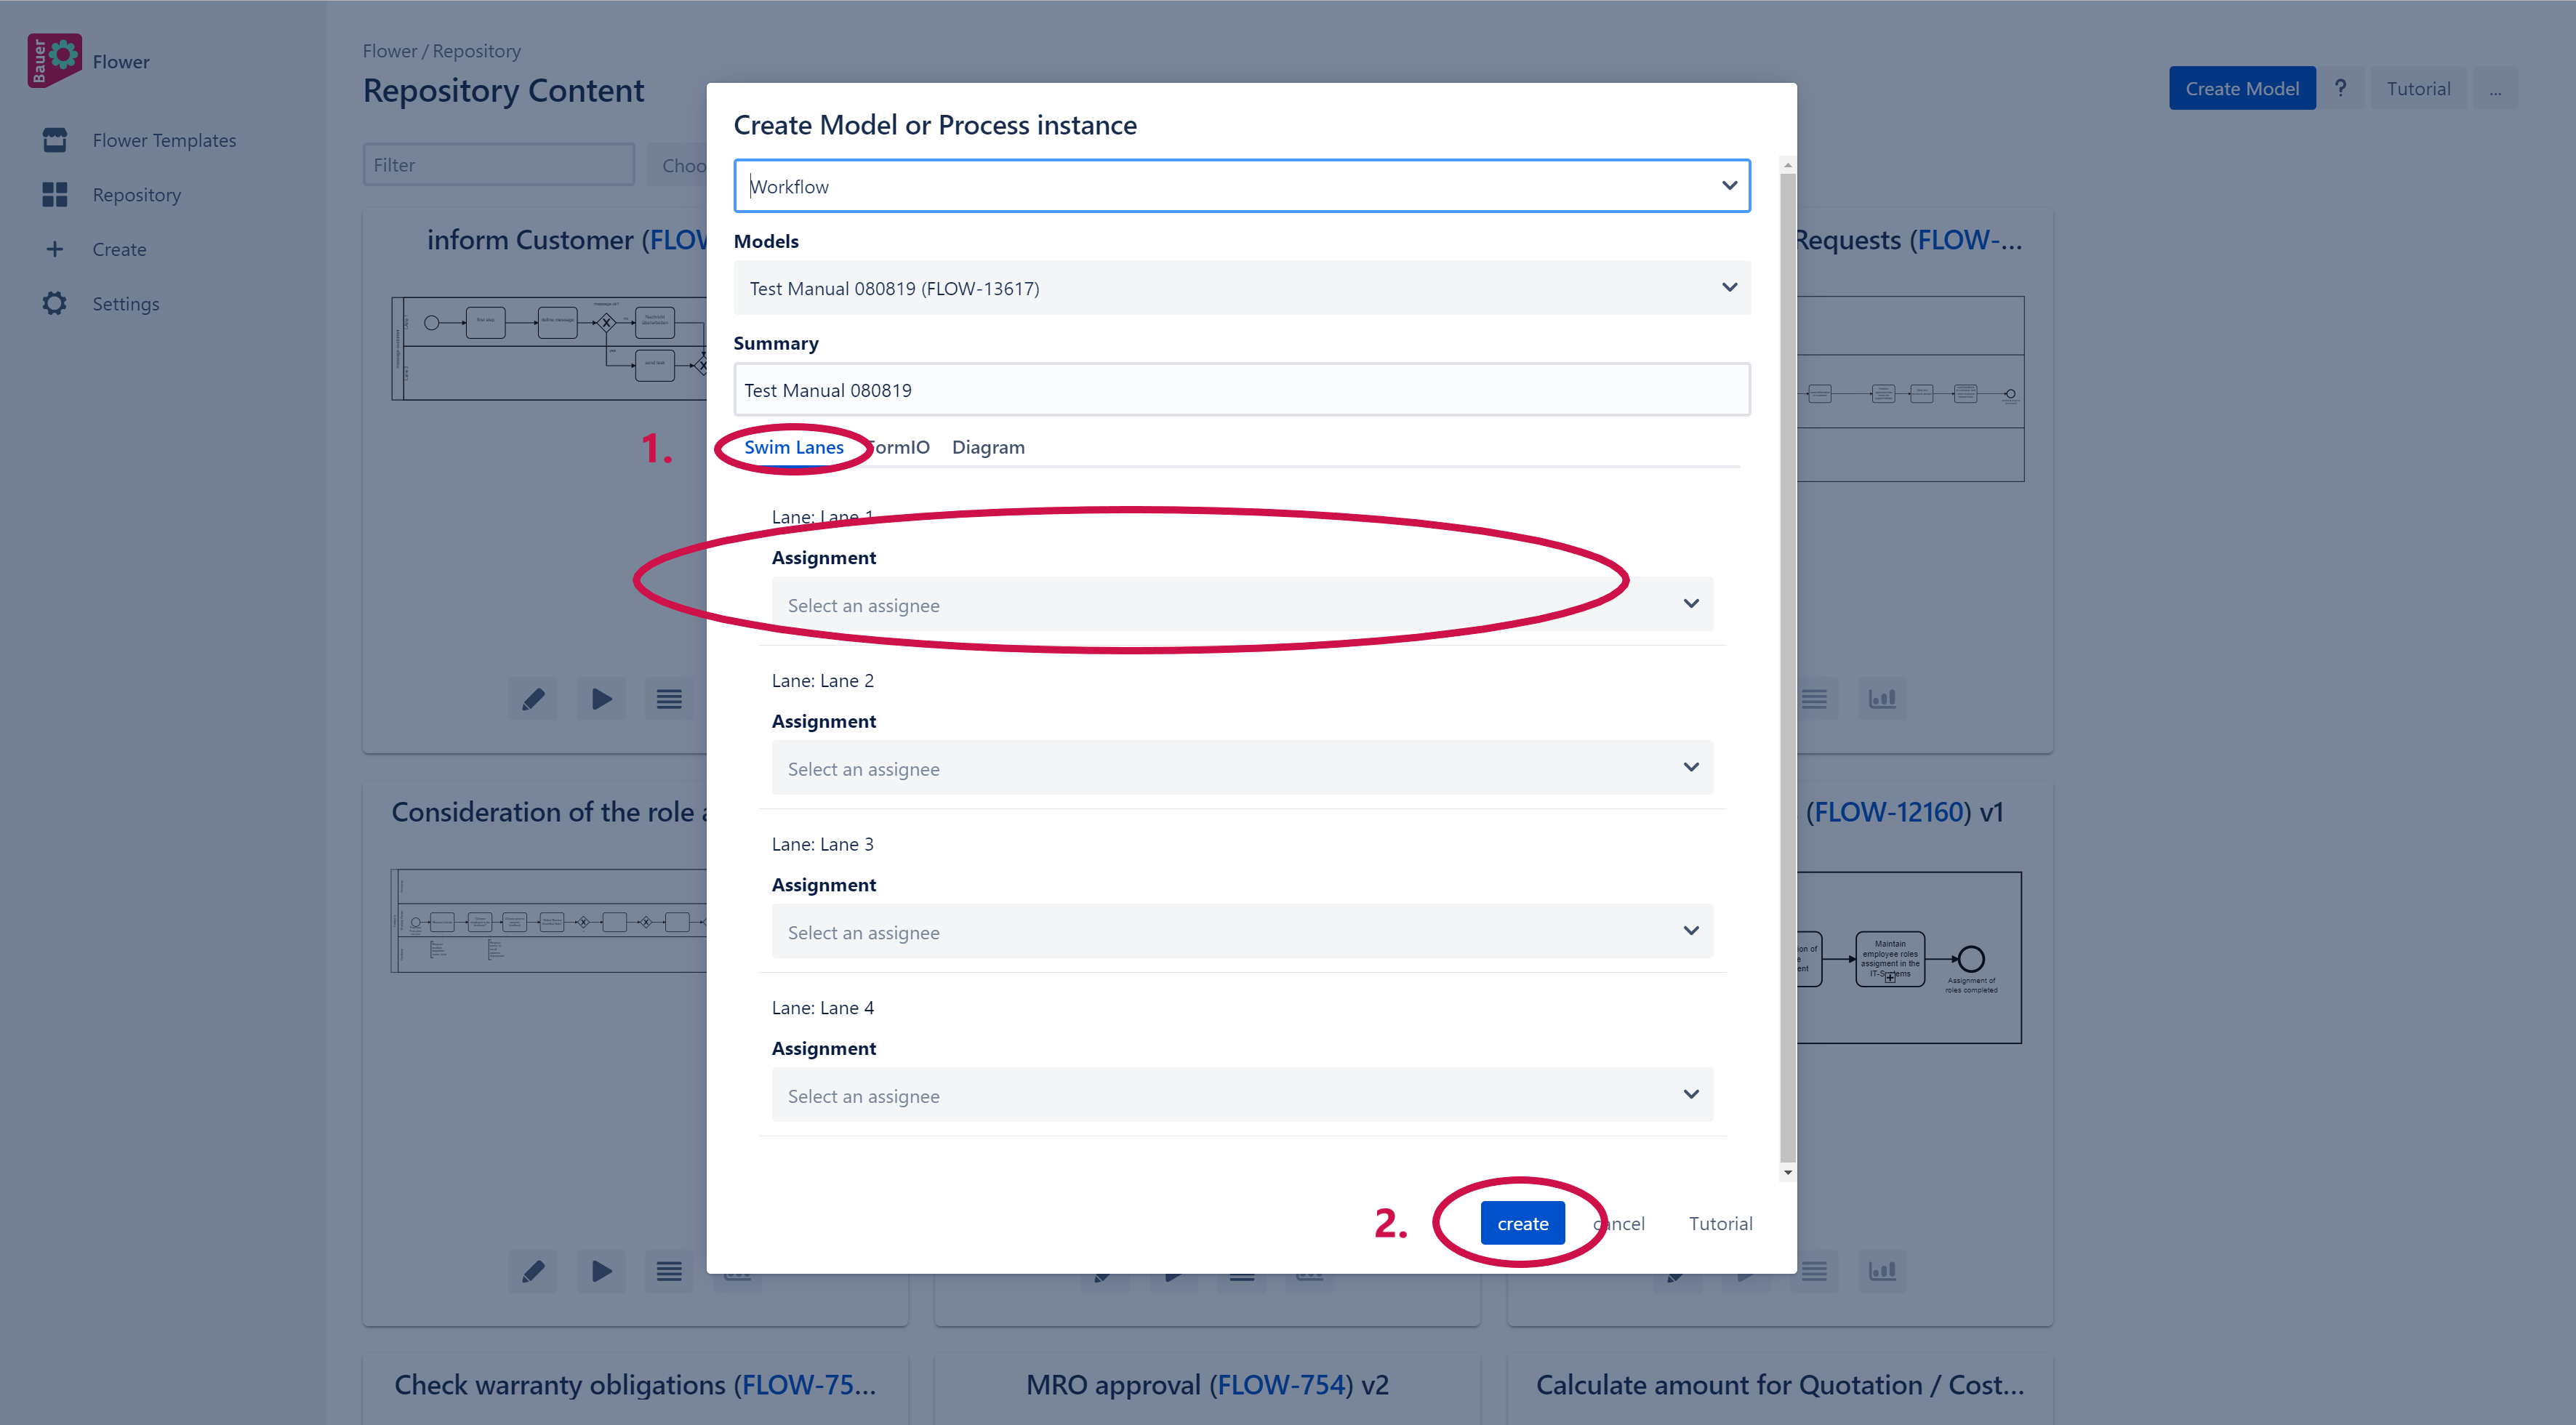
3.2 Allocate the swimlanes to corresponding users via the "Swimlanes"-menu (1) and click "Create" to start your workflow
You have to allocate the swimlanes to make a decision. Only a person allocated to the swimlane the decision is embedded can make this decision.
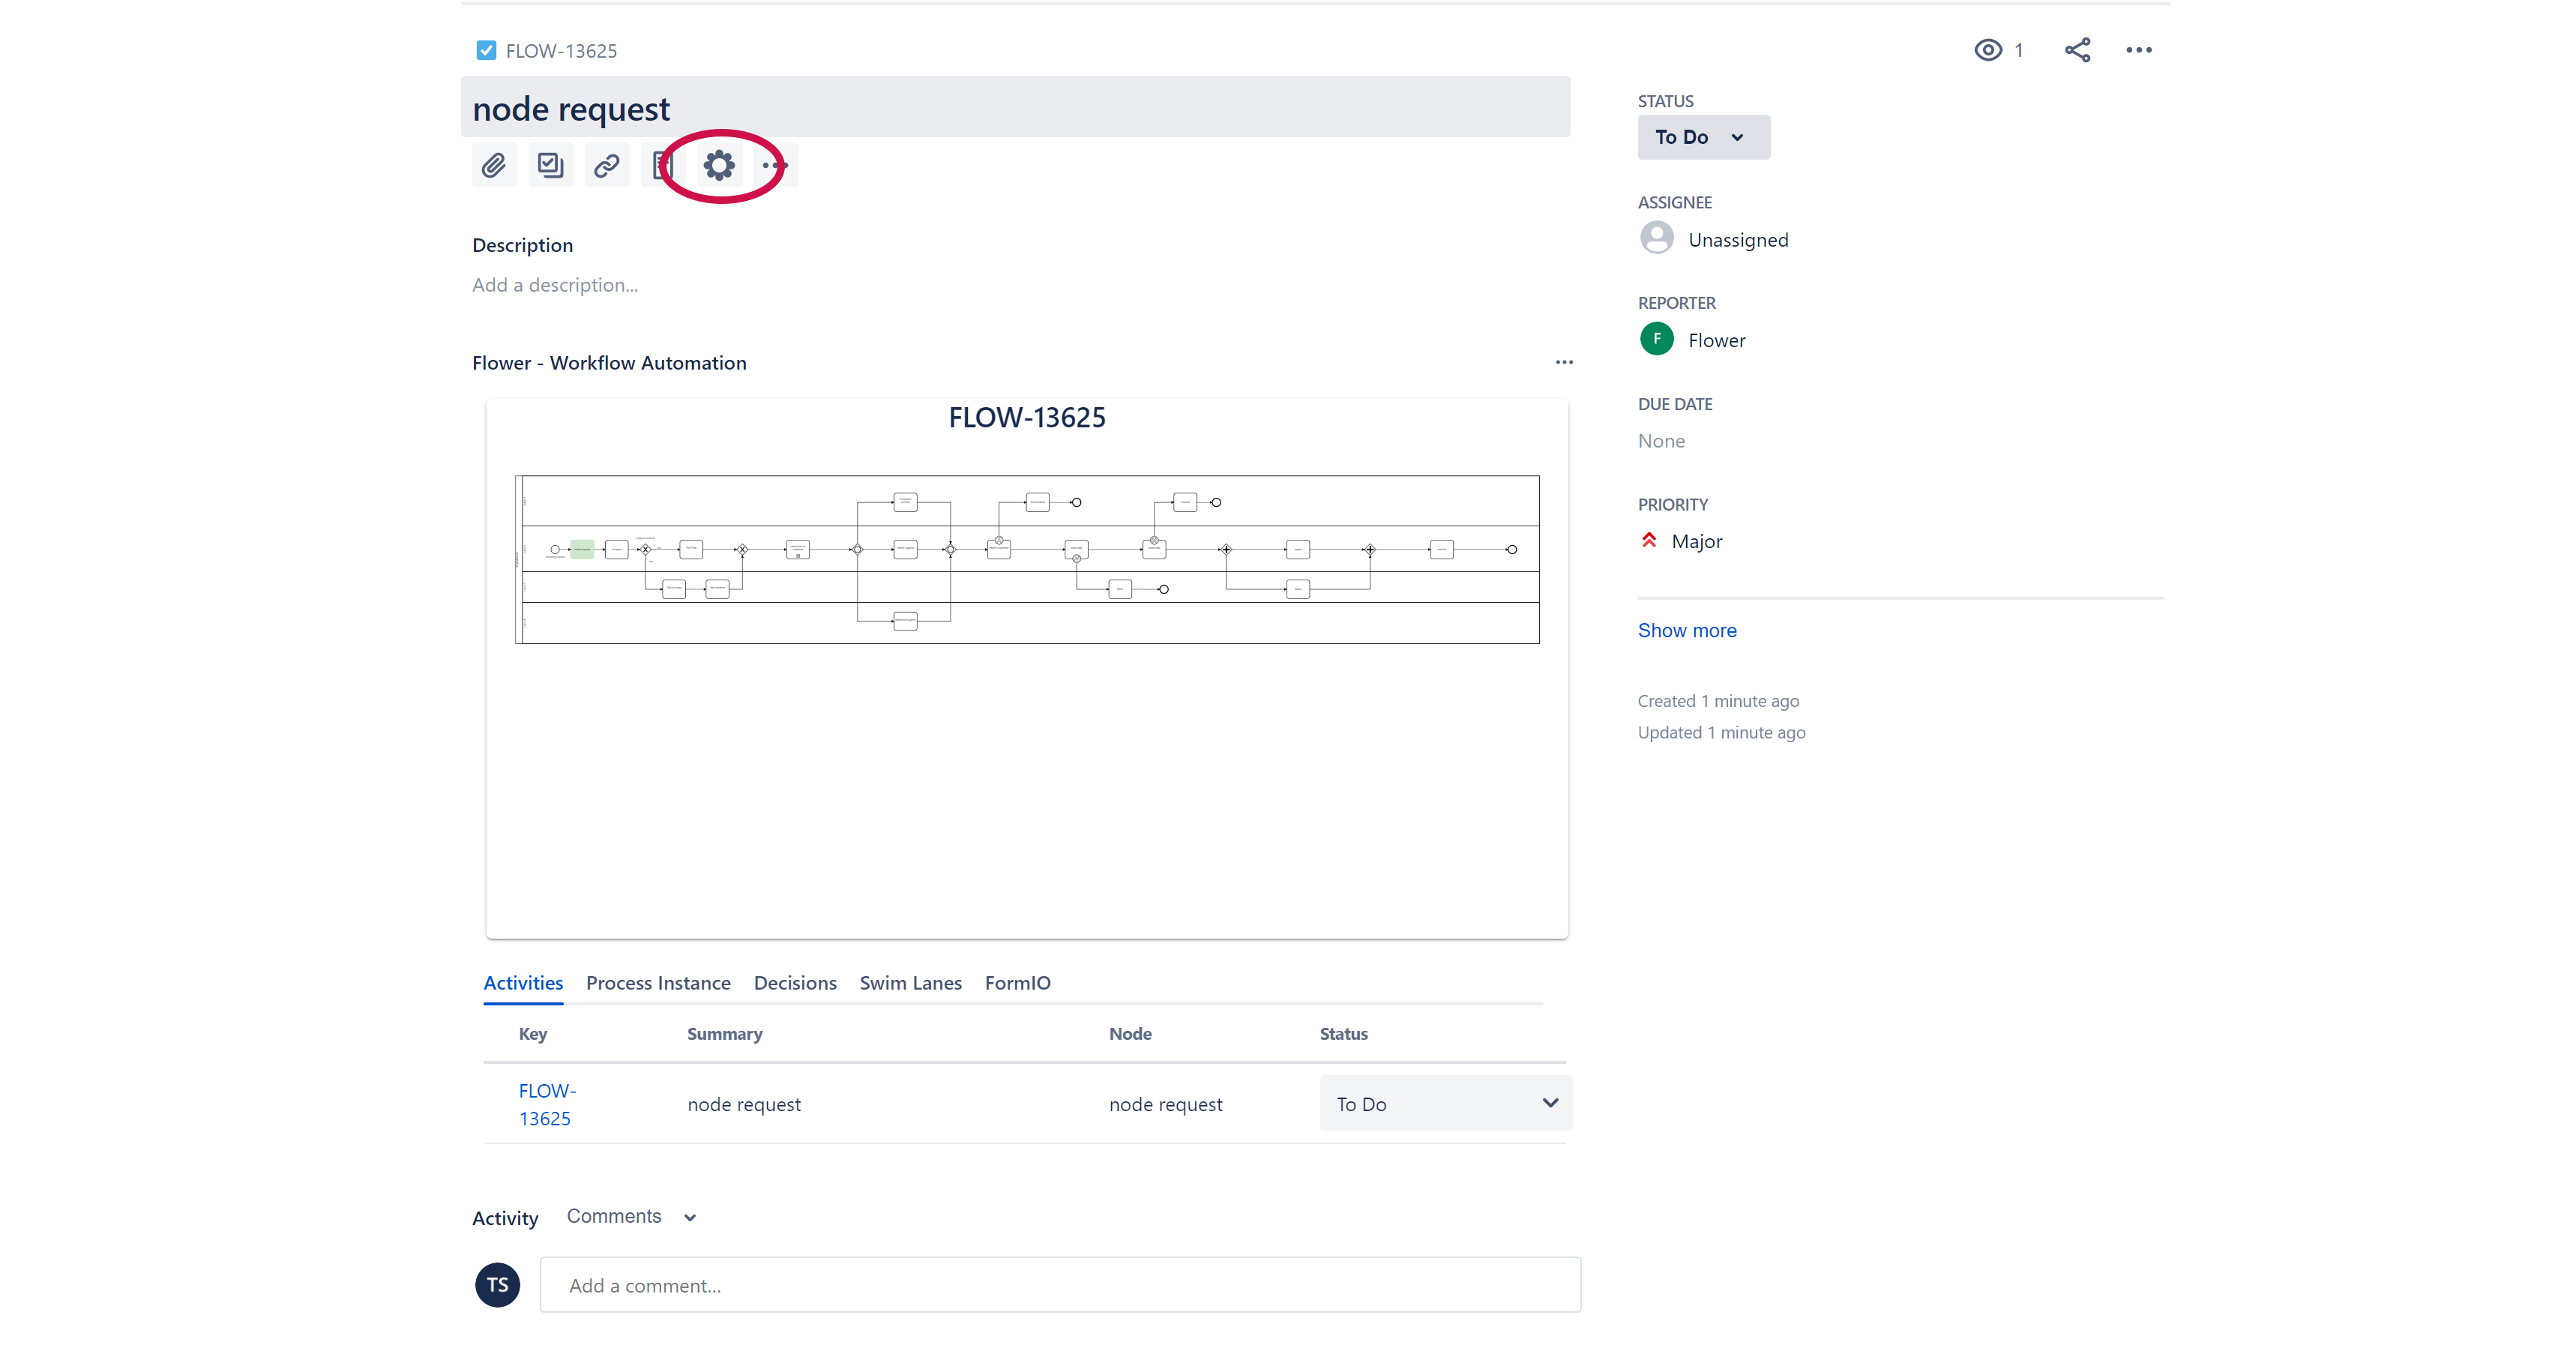
3.3 Every process turns into an automated workflow by creating a Jira issue for each process activity.
Add the Flower Web Panel in the Jira Standard Issue View bly clicking the Flower icon
Flower Templates
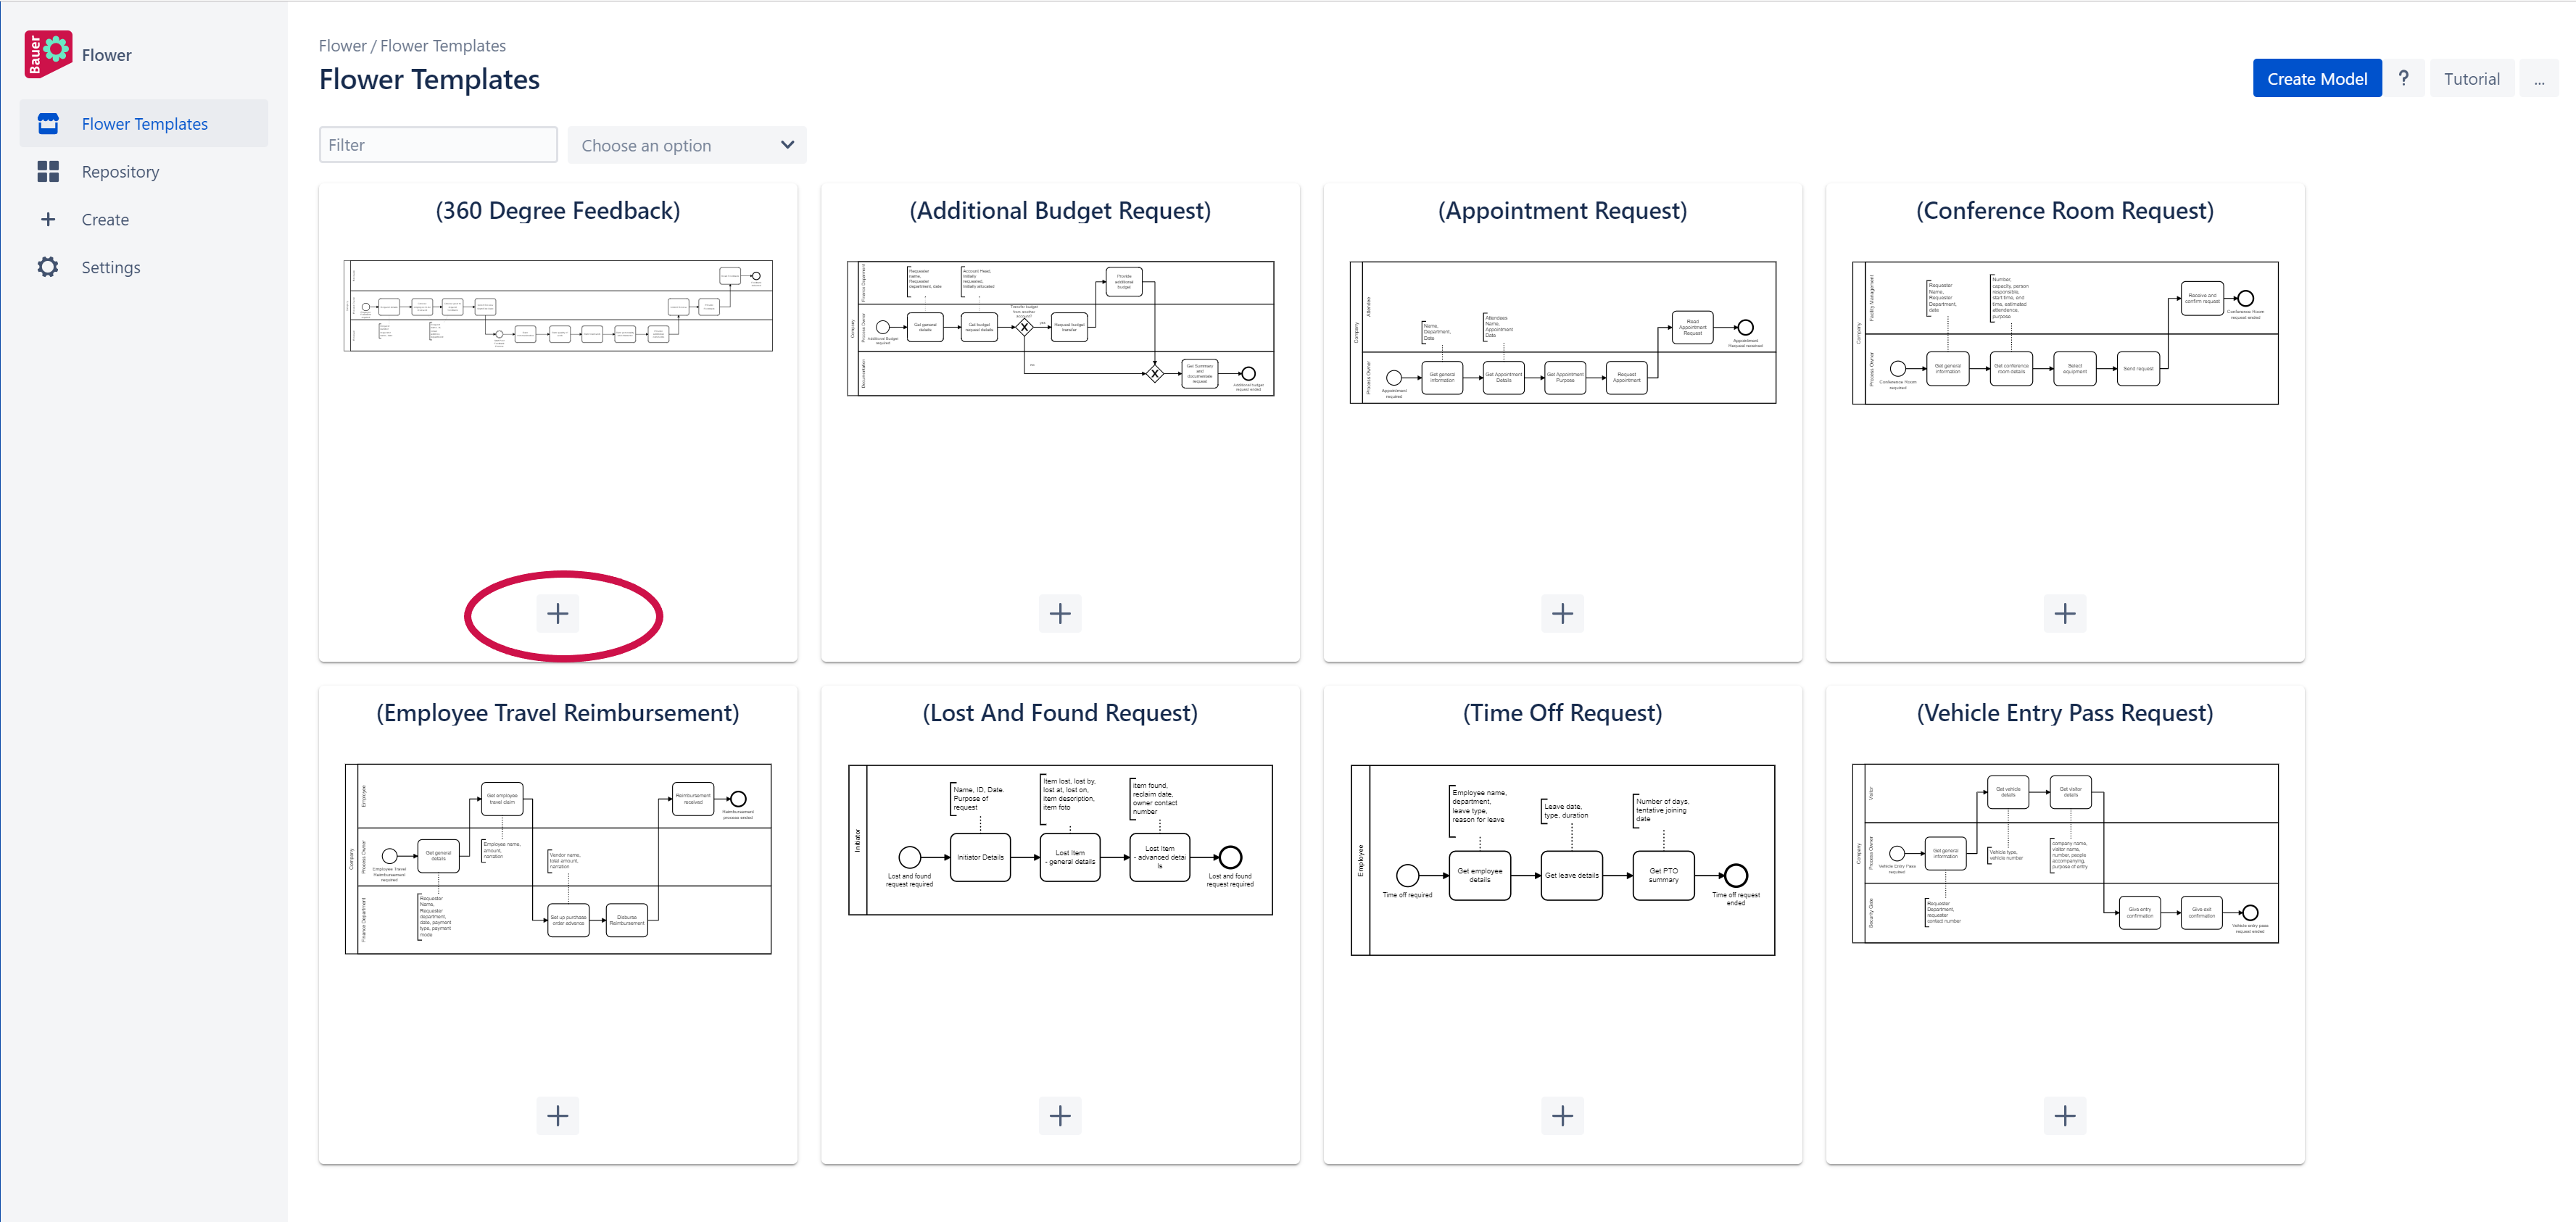
Next to creating new models using templates is a great way to start the work.
Click "Import" to start working on a template
